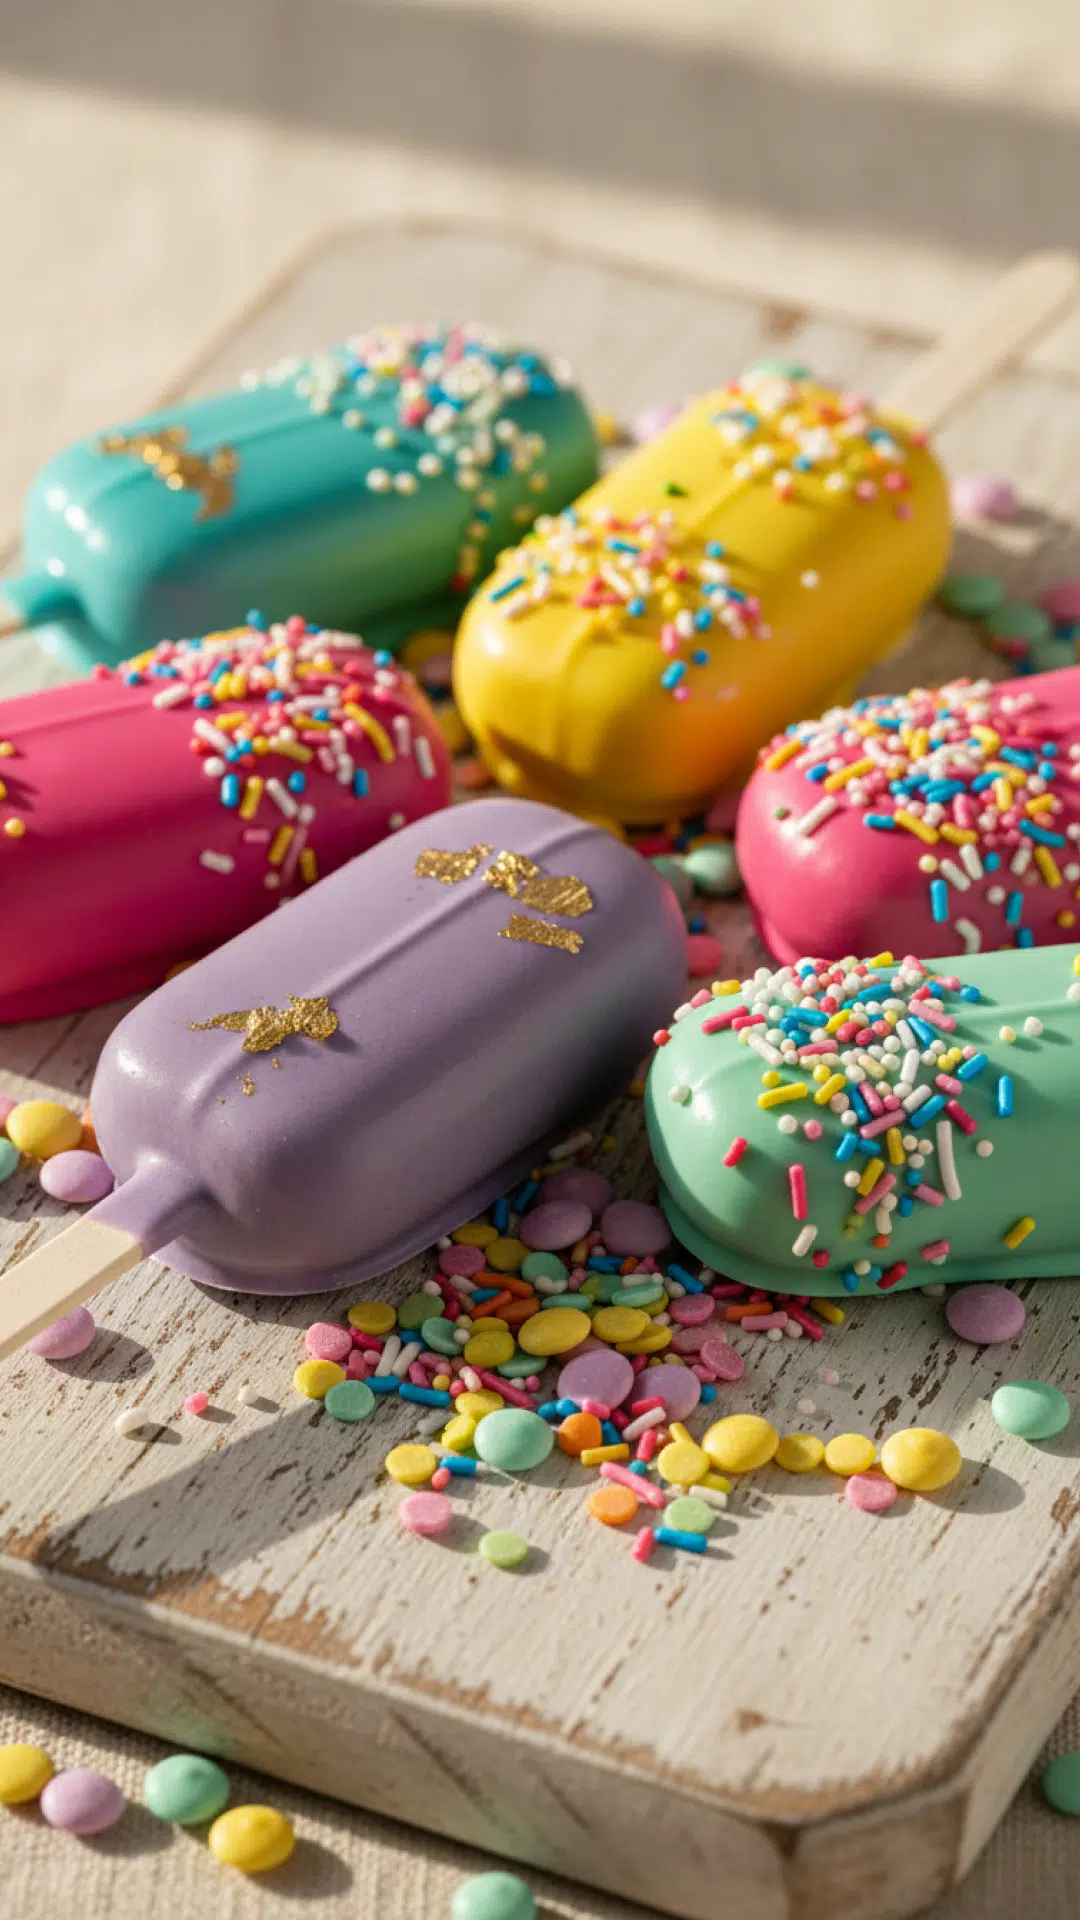
This cake popsicles recipe is the secret to turning any celebration into a gourmet experience that looks like it came straight from a professional bakery. If you have ever scrolled through social media and marvelled at those perfectly smooth, beautifully decorated treats shaped like mini ice creams, you have encountered the cakesicle. My journey with this cake popsicles recipe started on a rainy Tuesday afternoon when I had a leftover batch of my favorite Italian Cream Cake Recipe sitting on the counter. I wanted something more sophisticated than a standard cake ball, something with a satisfying chocolate snap and a decadent, moist center. After several trials and errors involving melting chocolate and silicone molds, I finally perfected the method. These treats are not just for kids; they are the ultimate party favor for weddings, showers, and birthdays. Using this cake popsicles recipe allows you to express your creativity while ensuring every bite is a harmonious blend of sponge and silk.
Why This Recipe is a Must-Try
When you decide to tackle this cake popsicles recipe, you are signing up for more than just a dessert; you are creating a masterpiece. Here are a few reasons why this specific method stands out:
- No-Waste Magic: This cake popsicles recipe is the absolute best way to use up cake scraps or even a cake that didn't quite turn out perfectly in the oven.
- Ultimate Customization: Whether you want a dark chocolate shell with a vanilla center or a white chocolate shell with a Red Velvet Cake Recipe base, the possibilities are endless.
- Durability: Unlike traditional cake pops, the thick chocolate shell in this cake popsicles recipe makes them much more durable for transport and gifting.
- Professional Aesthetic: Using silicone molds gives you a sleek, uniform shape that is significantly easier to achieve than hand-rolling balls.
Key Ingredient Notes
To master the cake popsicles recipe, you need to understand the relationship between your cake base and your coating. Not all ingredients are created equal when you are aiming for that perfect cakesicle finish.
The Cake and Frosting Ratio
The heart of any cake popsicles recipe is the 'dough' created by mixing crumbled cake with frosting. You want a texture that is similar to play-dough—pliable but not greasy. If you add too much frosting, the cakesicle will be too soft and might fall off the stick. If you add too little, it will be crumbly and won't hold the popsicle shape. When I prepare my cake base, I always store the crumbles in Basics Glass Food Storage containers to keep the moisture locked in until I am ready to mix.
The Chocolate Coating
For this cake popsicles recipe, I highly recommend using high-quality candy melts or tempered couverture chocolate. Candy melts are the most beginner-friendly option because they set quickly and don't require tempering to stay shiny. If you choose real chocolate, ensure you temper it correctly so it has that characteristic 'snap' when you bite into the cake popsicles recipe results. A touch of coconut oil can help thin out the chocolate if it feels too viscous for a smooth pour.
Step-by-Step Guide with Pro Tips
Creating the perfect cake popsicles recipe requires patience and a gentle touch. Follow these steps to ensure your treats look as good as they taste.
Preparing the Mold
Begin by melting your chocolate in 30-second intervals in the microwave. Once smooth, pour about a tablespoon into each cavity of your silicone popsicle mold. Use a spoon or a clean paintbrush to coat the sides evenly. This is a critical part of the cake popsicles recipe because any thin spots will result in cracks later. Slide your popsicle sticks into the slots to clear the path, then remove them and chill the mold in the freezer for 5 minutes. Repeat with a second thin coat of chocolate to ensure stability.
Filling and Sealing
Once the shell is set, take your cake and frosting mixture and press it firmly into the cavities. Leave about a 1/8-inch gap at the top for the final chocolate seal. Insert the sticks fully into the cake popsicles recipe centers. Pour more melted chocolate over the top and use an offset spatula to scrape away the excess, creating a flat, clean back. Return to the freezer for at least 15 minutes before attempting to unmold.
Unmolding and Decorating
This is the most satisfying part of the cake popsicles recipe. Gently peel the silicone mold away from the chocolate edges first, then push the popsicle up from the bottom while holding the stick. To decorate, you can drizzle extra chocolate, apply edible gold leaf, or use royal icing flowers. The beauty of this cake popsicles recipe is that the flat surface acts as a canvas for your artistic whims.
Variations & Serving Suggestions
You can adapt this cake popsicles recipe for any season. For a summer vibe, try a lemon zest cake with a white chocolate shell infused with a drop of strawberry extract. For the holidays, a spiced gingerbread cake inside a dark chocolate shell decorated with crushed candy canes is always a hit. If you are serving these at a party, consider a 'Cakesicle Bar' where guests can choose different toppings for their cake popsicles recipe creations. These also make wonderful place settings; simply wrap them in cellophane bags and tie with a silk ribbon that matches your table decor. This cake popsicles recipe is incredibly versatile, making it my go-to for any event where I want to impress without spending hours on a full-sized cake.
Nutrition Information
| Nutrient | Amount |
|---|---|
| Calories | 280 kcal |
| Carbohydrate Content | 34g |
| Cholesterol Content | 15mg |
| Fat Content | 14g |
| Fiber Content | 1g |
| Protein Content | 3g |
| Saturated Fat Content | 8g |
| Serving Size | 1 Popsicle |
| Sodium Content | 120mg |
| Sugar Content | 26g |
| Trans Fat Content | 0g |
| Unsaturated Fat Content | 5g |
Conclusion
Mastering this cake popsicles recipe opens up a world of confectionery possibilities. Whether you are using it to save leftover cake or starting from scratch to create a themed dessert, the results are always stunning. Remember to take your time with the chocolate shells and don't be afraid to experiment with different flavor combinations. Once you try this cake popsicles recipe, you’ll find yourself looking for any excuse to whip up a batch. Happy baking, and enjoy the sweet rewards of your beautiful cakesicles!
FAQs
Why are my cake popsicles cracking?
Cracking usually happens if the chocolate shell is too thin or if the cake filling expands due to temperature changes. Ensure you do two coats of chocolate in the mold and don't pack the cake too tightly.
Can I make this cake popsicles recipe in advance?
Yes! These can be made up to 3 days in advance if kept in a cool, dry place. If refrigerated, the chocolate may sweat when brought to room temperature, so airtight storage is best.
Do I have to use a silicone mold?
While you can hand-shape them, a silicone mold is essential for getting the clean popsicle shape and the professional look that defines a cakesicle.

Homemade Gourmet Cake Popsicles
- Total Time: 1 hour 5 minutes
- Yield: 8 popsicles 1x
Description
A trendy and delicious cake popsicles recipe that combines moist cake filling with a crisp chocolate shell in an adorable popsicle shape.
Ingredients
2 cups crumbled cake (any flavor)
2-4 tablespoons buttercream frosting
12 oz high-quality candy melts or chocolate chips
1 teaspoon coconut oil (optional)
Assorted sprinkles or edible glitter for decoration
Silicone popsicle molds and sticks
Instructions
Step 1: In a large bowl, combine the crumbled cake and frosting. Mix until it reaches a dough-like consistency that holds its shape when pressed.
Step 2: Melt the chocolate or candy melts in the microwave in 30-second bursts, stirring in between until completely smooth. Stir in coconut oil if a thinner consistency is desired.
Step 3: Place 1 tablespoon of chocolate into each cavity of the silicone mold. Spread evenly up the sides using a spoon or brush. Insert the sticks briefly to ensure the opening stays clear, then remove the sticks.
Step 4: Freeze the mold for 5 minutes. Apply a second thin layer of chocolate to the sides if needed and freeze for another 5 minutes until set.
Step 5: Press the cake mixture firmly into each cavity, leaving a small space at the top. Re-insert the popsicle sticks into the cake centers.
Step 6: Pour melted chocolate over the cake filling to seal the back. Use a spatula to scrape off any excess chocolate for a flat finish.
Step 7: Freeze for 20 minutes. Gently peel the mold away from the popsicles and decorate as desired.
Notes
Ensure the cake is finely crumbled for a smooth texture. Do not overfill the molds or the chocolate backing won't sit flush.
- Prep Time: 45 minutes
- Cook Time: 0 minutes
- Category: Desserts & Baking
- Cuisine: American
Nutrition
- Serving Size: 1 Popsicle
- Calories: 280 kcal
- Sugar: 26g
- Sodium: 120mg
- Fat: 14g
- Saturated Fat: 8g
- Unsaturated Fat: 5g
- Trans Fat: 0g
- Carbohydrates: 34g
- Fiber: 1g
- Protein: 3g
- Cholesterol: 15mg
Leave a Reply