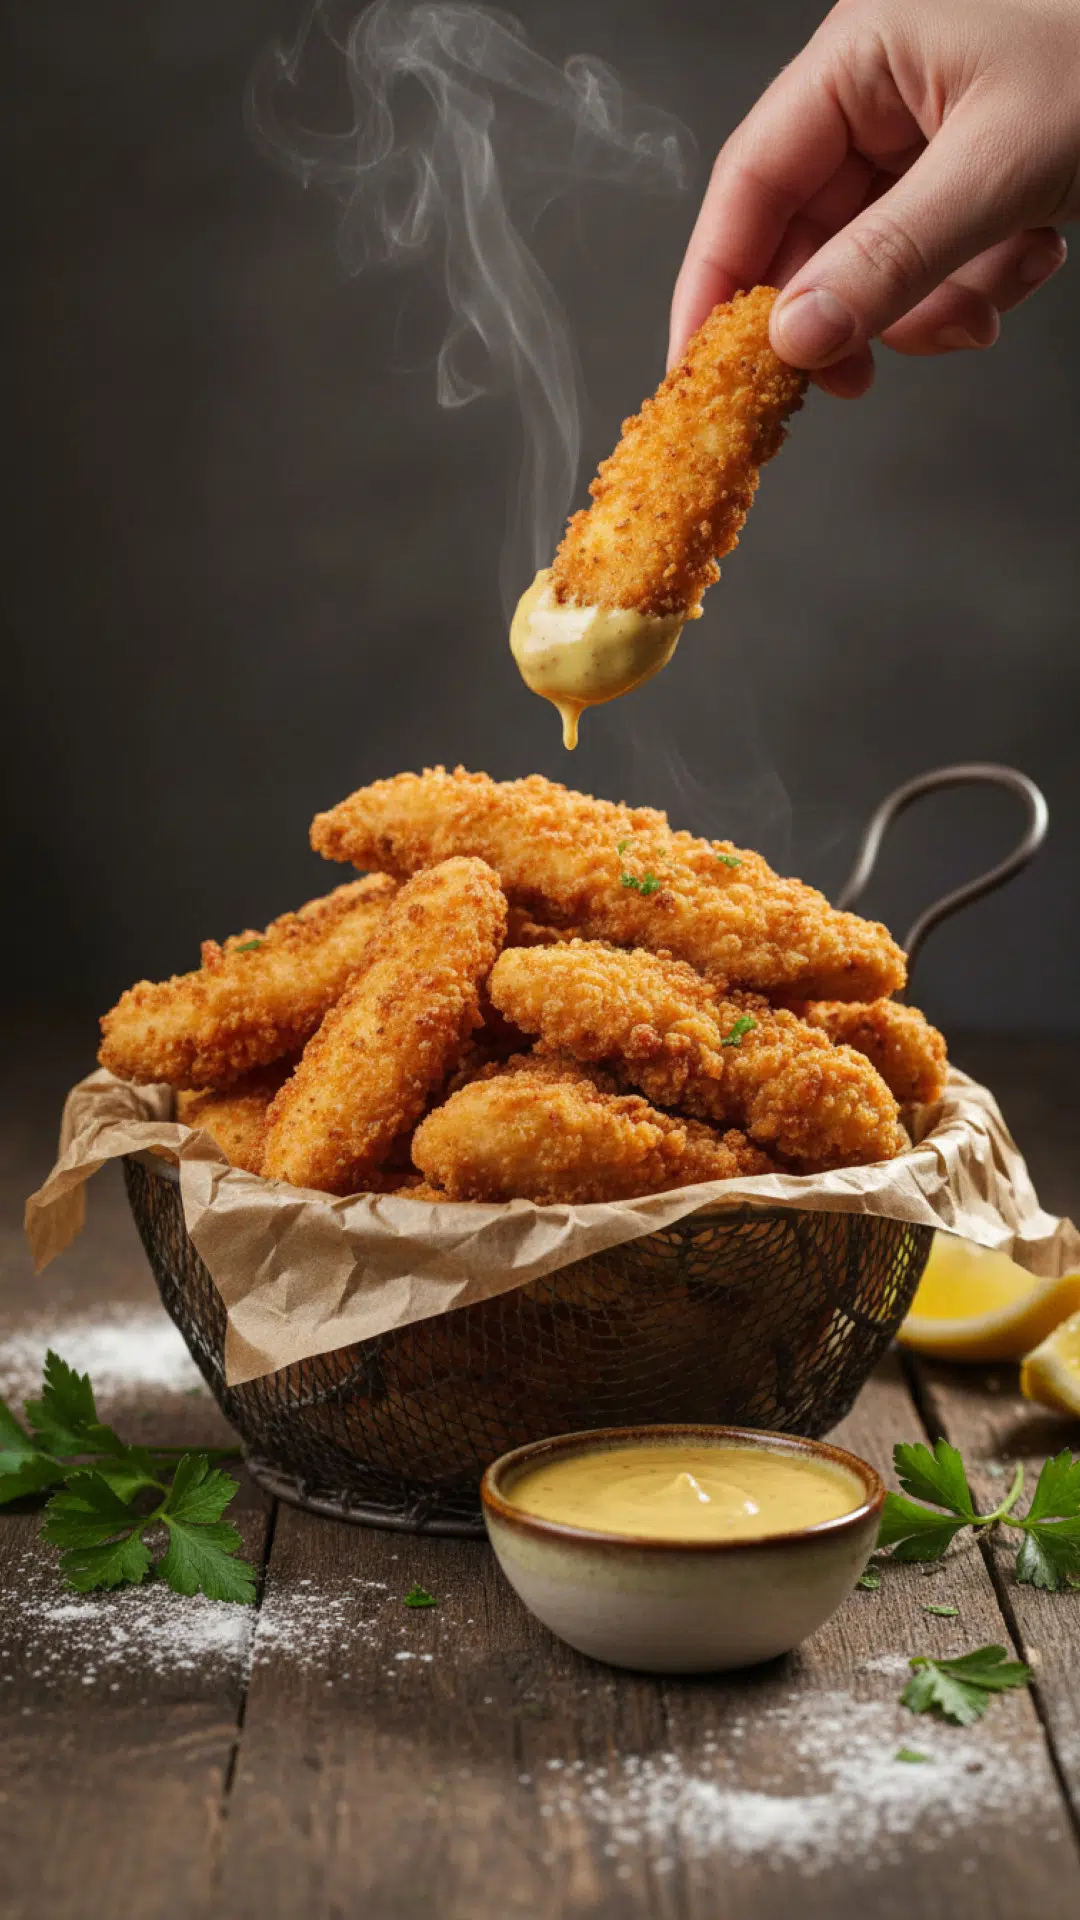
This chicken tenders recipe holds a very special place in my heart, taking me back to Saturday afternoons in my grandmother’s sun-drenched kitchen. Growing up, chicken tenders were the ultimate reward—a crispy, golden promise of a good weekend. However, as I grew older, those frozen bags from the supermarket just didn't cut it anymore. I wanted that specific crunch, the kind that resonates through your jaw, followed by an impossibly juicy center. After years of testing different dredging techniques and seasoning blends, I finally perfected the chicken tenders recipe that my family now begs for every single week.
There is something undeniably comforting about a plate of hot, homemade chicken. It is a universal language of love. Whether you are cooking for picky toddlers or hosting a casual game-day gathering with friends, mastering this chicken tenders recipe ensures you will always have a winning card to play. The secret lies in the double-dredging process and a little patience with the buttermilk bath. Once you taste these, you'll realize that the extra effort is worth every single bite. Let's dive into the world of golden-brown perfection.
Why This Recipe is a Must-Try
- Superior Crunch: By using a combination of Panko breadcrumbs and traditional flour, this chicken tenders recipe achieves a texture that stays crispy much longer than standard restaurant versions.
- Ultimate Juiciness: The buttermilk marinade acts as a tenderizer, ensuring the chicken never dries out, even when fried to a deep golden hue.
- Complete Flavor Control: Unlike store-bought versions, you can adjust the spice levels in this chicken tenders recipe to suit your palate, from smoky paprika to a kick of cayenne.
- Versatility: These tenders work as a main dish, a salad topper, or even a filling for a decadent sandwich.
Key Ingredient Notes
To make the best chicken tenders recipe possible, you need to start with high-quality ingredients. First and foremost, look for actual chicken tenderloins. While you can slice up chicken breasts, the tenderloin is a specific muscle that is naturally more tender. If you find the white tendon at the top annoying, you can easily remove it with a fork and a paper towel before starting.
The second key component is the buttermilk. If you don't have buttermilk on hand, you can make a quick substitute by adding a tablespoon of lemon juice or vinegar to a cup of whole milk. This acidity is crucial for breaking down the proteins in the chicken. For the coating, I swear by Panko breadcrumbs. They are larger and airier than regular breadcrumbs, which is the secret weapon of this chicken tenders recipe for achieving that distinct, jagged crunch. If you're looking for more ways to use poultry throughout the week, check out our guide on shredded chicken recipes for easy meal prep.
Step-by-Step Guide with Pro Tips
Preparation is the most important part of any chicken tenders recipe. You want to set up a clean station with three separate bowls. The first bowl contains seasoned flour, the second contains your buttermilk and egg wash, and the third contains your Panko breadcrumbs. This "standard breading procedure" ensures the coating actually sticks to the chicken rather than sliding off in the pan.
Pro Tip: The Wet Hand/Dry Hand Method
To avoid your fingers becoming breaded along with the chicken, use your left hand for the wet ingredients (buttermilk) and your right hand for the dry ingredients (flour and Panko). This keeps the mess to a minimum and makes the process much faster. When you are ready to fry, ensure your oil is at exactly 350°F (175°C). If the oil is too cold, the chicken will absorb it and become greasy; if it is too hot, the outside will burn before the inside is cooked.
Always cook in batches. Overcrowding the pan will drop the oil temperature significantly, ruining the crispiness of your chicken tenders recipe. Once each batch is finished, place them on a wire rack set over a baking sheet rather than on paper towels. This allows air to circulate around the entire tender, preventing the bottom from becoming soggy. If you have leftovers, they store perfectly in Basics Glass Food Storage containers to maintain their freshness.
Variations & Serving Suggestions
While I love this chicken tenders recipe in its classic form, there are so many ways to switch it up. For a spicy version, add two tablespoons of buffalo hot sauce directly into the buttermilk marinade. For a Parmesan crust, mix half a cup of grated Parmesan cheese into the Panko breadcrumbs. If you are watching your oil intake, you can also prepare this chicken tenders recipe in the air fryer at 400°F for about 12-15 minutes, flipping halfway through.
When it comes to serving, the sauce is just as important as the chicken. While ketchup is a classic, I highly recommend pairing these with a tangy fry sauce recipe for a truly elevated experience. They also pair beautifully with honey mustard, ranch, or a spicy BBQ sauce. Serve them alongside some garlic mashed potatoes or a fresh coleslaw to balance out the richness of the fried coating.
Nutrition Information
Understanding the nutritional breakdown of your chicken tenders recipe helps you balance your meal plan effectively. Below is an estimate based on standard frying methods.
| Nutrient | Amount Per Serving |
|---|---|
| Calories | 445 kcal |
| Total Fat | 22g |
| Saturated Fat | 4g |
| Cholesterol | 145mg |
| Sodium | 780mg |
| Total Carbohydrates | 28g |
| Dietary Fiber | 1g |
| Sugars | 3g |
| Protein | 32g |
Conclusion
Mastering the perfect chicken tenders recipe is a culinary milestone that brings joy to everyone at the table. By focusing on the quality of your breading and the temperature of your oil, you can create a meal that far surpasses any fast-food alternative. I hope this chicken tenders recipe becomes a staple in your home just as it has in mine. Happy cooking!
FAQs
Can I bake this chicken tenders recipe instead of frying?
Yes! To bake, preheat your oven to 400u00b0F. Place the breaded tenders on a greased wire rack over a baking sheet and bake for 15-20 minutes, flipping halfway through, until golden and cooked through.
How do I make the breading stick better to the chicken?
The key is the flour-liquid-crumb sequence. Pat the chicken dry before starting if you aren't marinating. Ensuring you press the Panko firmly into the chicken also helps the coating adhere during the frying process.
What is the best oil for this chicken tenders recipe?
Neutral oils with high smoke points are best. Vegetable oil, canola oil, or peanut oil are all excellent choices for achieving a clean, crispy fry without burning.
Ultimate Crispy Homemade Chicken Tenders
- Total Time: 35 minutes
- Yield: 4 servings 1x
Description
A foolproof chicken tenders recipe featuring a buttermilk brine and Panko crust for maximum crunch and juiciness.
Ingredients
1.5 lbs chicken tenderloins
1 cup buttermilk
1 large egg
1.5 cups Panko breadcrumbs
1/2 cup all-purpose flour
1 tsp garlic powder
1 tsp smoked paprika
1/2 tsp salt
1/2 tsp black pepper
Vegetable oil for frying
Instructions
Step 1: In a medium bowl, whisk together the buttermilk and egg. Submerge the chicken tenderloins in the mixture and refrigerate for at least 30 minutes (up to 4 hours) for this chicken tenders recipe.
Step 2: In a shallow dish, combine the flour, garlic powder, paprika, salt, and pepper. In another dish, place the Panko breadcrumbs.
Step 3: Remove a chicken tender from the buttermilk, dredge it in the flour mixture, dip it back into the buttermilk briefly, and then press firmly into the Panko breadcrumbs until fully coated.
Step 4: Heat about 1 inch of oil in a large skillet to 350°F. Carefully place 4-5 tenders in the oil, being careful not to crowd the pan.
Step 5: Fry for 3-4 minutes per side until the internal temperature reaches 165°F and the crust is golden brown. Drain on a wire rack.
Notes
For the crispiest results, ensure the oil returns to 350°F between batches.
- Prep Time: 20 minutes
- Cook Time: 15 minutes
- Category: Main Dishes & Savory Recipes
- Cuisine: American
Nutrition
- Serving Size: 3 tenders
- Calories: 445 kcal
- Sugar: 3g
- Sodium: 780mg
- Fat: 22g
- Saturated Fat: 4g
- Unsaturated Fat: 16g
- Trans Fat: 0g
- Carbohydrates: 28g
- Fiber: 1g
- Protein: 32g
- Cholesterol: 145mg
Leave a Reply