When I think of classic holiday treats or a simple indulgence on a quiet evening, my mind immediately conjures images of rich, creamy fudge. For many, fudge recipes can seem daunting, often associated with candy thermometers and finicky temperatures. But let me tell you, my journey to mastering the perfect batch of chocolate fudge was born out of a desire for simplicity and pure, unadulterated sweetness. I remember my grandmother, with her hands dusted in cocoa, patiently stirring a pot on the stove, the entire kitchen filling with the most intoxicating aroma. Her fudge was legendary, and for years, I tried to replicate it, failing miserably with grainy textures or overly soft batches. It wasn't until I stumbled upon this foolproof method that I finally cracked the code. This recipe isn't just about making fudge; it's about reclaiming a beloved tradition without the stress, ensuring every bite is a smooth, melt-in-your-mouth delight that transports you back to simpler times.
Why This Recipe is a Must-Try
- Incredibly Creamy Texture: Say goodbye to grainy fudge! This recipe delivers a perfectly smooth, velvety texture every single time.
- No Candy Thermometer Needed: Forget the fuss and precision of temperature monitoring. This method relies on simple visual cues, making it accessible for all skill levels.
- Quick & Easy Preparation: From start to finish, you can have a batch of delicious fudge ready to set in under 15 minutes of active cooking.
- Perfect for Gifting: Homemade fudge makes for a thoughtful and much-appreciated gift during the holidays or for any special occasion. These fudge recipes are always a hit!
Key Ingredient Notes
While this recipe keeps things wonderfully simple, a few key ingredients truly make all the difference in achieving that signature creamy texture and rich flavor. Understanding their role will help you achieve perfect fudge recipes every time.
Good Quality Chocolate
This is where your fudge gets its core flavor, so don't skimp! I highly recommend using a good quality semi-sweet chocolate, either in chip form or chopped from a bar. Using a better quality chocolate will result in a richer, deeper flavor that truly elevates your homemade fudge. Milk chocolate can also be used for a sweeter, milder flavor, but ensure it's a brand you enjoy eating on its own.
Sweetened Condensed Milk
This is the magic ingredient that makes this one of the easiest fudge recipes out you'll ever find. Unlike evaporated milk, sweetened condensed milk is thick, creamy, and already sweetened, providing both structure and sweetness without the need for additional sugar or extensive cooking. It’s what gives the fudge its signature smooth consistency. Make sure you grab 'sweetened condensed milk' and not just 'evaporated milk' – they are not interchangeable in these fudge recipes!
Butter
Butter adds richness and helps create that luxurious, melt-in-your-mouth texture. Using unsalted butter allows you to control the overall saltiness, but salted butter can be used if that's what you have on hand; just be mindful of any additional salt you might add. It contributes significantly to the indulgent mouthfeel of these classic fudge recipes.
Step-by-Step Guide with Pro Tips
Making delicious fudge from scratch doesn't have to be complicated, and with these easy fudge recipes, it's truly a breeze. Follow these steps for perfect, creamy results every time.
Step 1: Prepare your pan. Line an 8x8 inch square baking pan with parchment paper, leaving an overhang on the sides. This will make lifting the fudge out later incredibly easy. Lightly grease the parchment paper with butter or non-stick spray.
Step 2: Combine ingredients. In a large, heavy-bottomed saucepan over medium-low heat, combine the sweetened condensed milk, chocolate chips, and butter. The heavy bottom of the pan helps prevent scorching, which is crucial for creamy fudge recipes.
Step 3: Melt and stir. Continuously stir the mixture with a silicone spatula or wooden spoon as the chocolate and butter melt. Stir gently but constantly to prevent the chocolate from sticking to the bottom and burning. Continue stirring until the mixture is completely smooth and all the chocolate is melted and fully incorporated. This usually takes about 5-7 minutes. Don't rush this process; consistent stirring is key to preventing graininess in your fudge recipes. For another delightful chocolate treat, consider trying The Ultimate Creamy Homemade Hot Chocolate Recipe for Cozy Moments.
Step 4: Remove from heat and add vanilla. Once smooth and glossy, remove the pan from the heat. Stir in the vanilla extract. If you're adding any mix-ins like nuts or other flavorings, now is the time to fold them in quickly. This ensures even distribution throughout your amazing fudge recipes.
Step 5: Pour and spread. Immediately pour the hot fudge mixture into your prepared pan. Use the spatula to spread it evenly into all corners of the pan. Work quickly, as fudge sets relatively fast.
Step 6: Chill to set. Place the pan in the refrigerator for at least 2-4 hours, or until the fudge is firm. For best results and the creamiest fudge recipes, I often let it chill overnight.
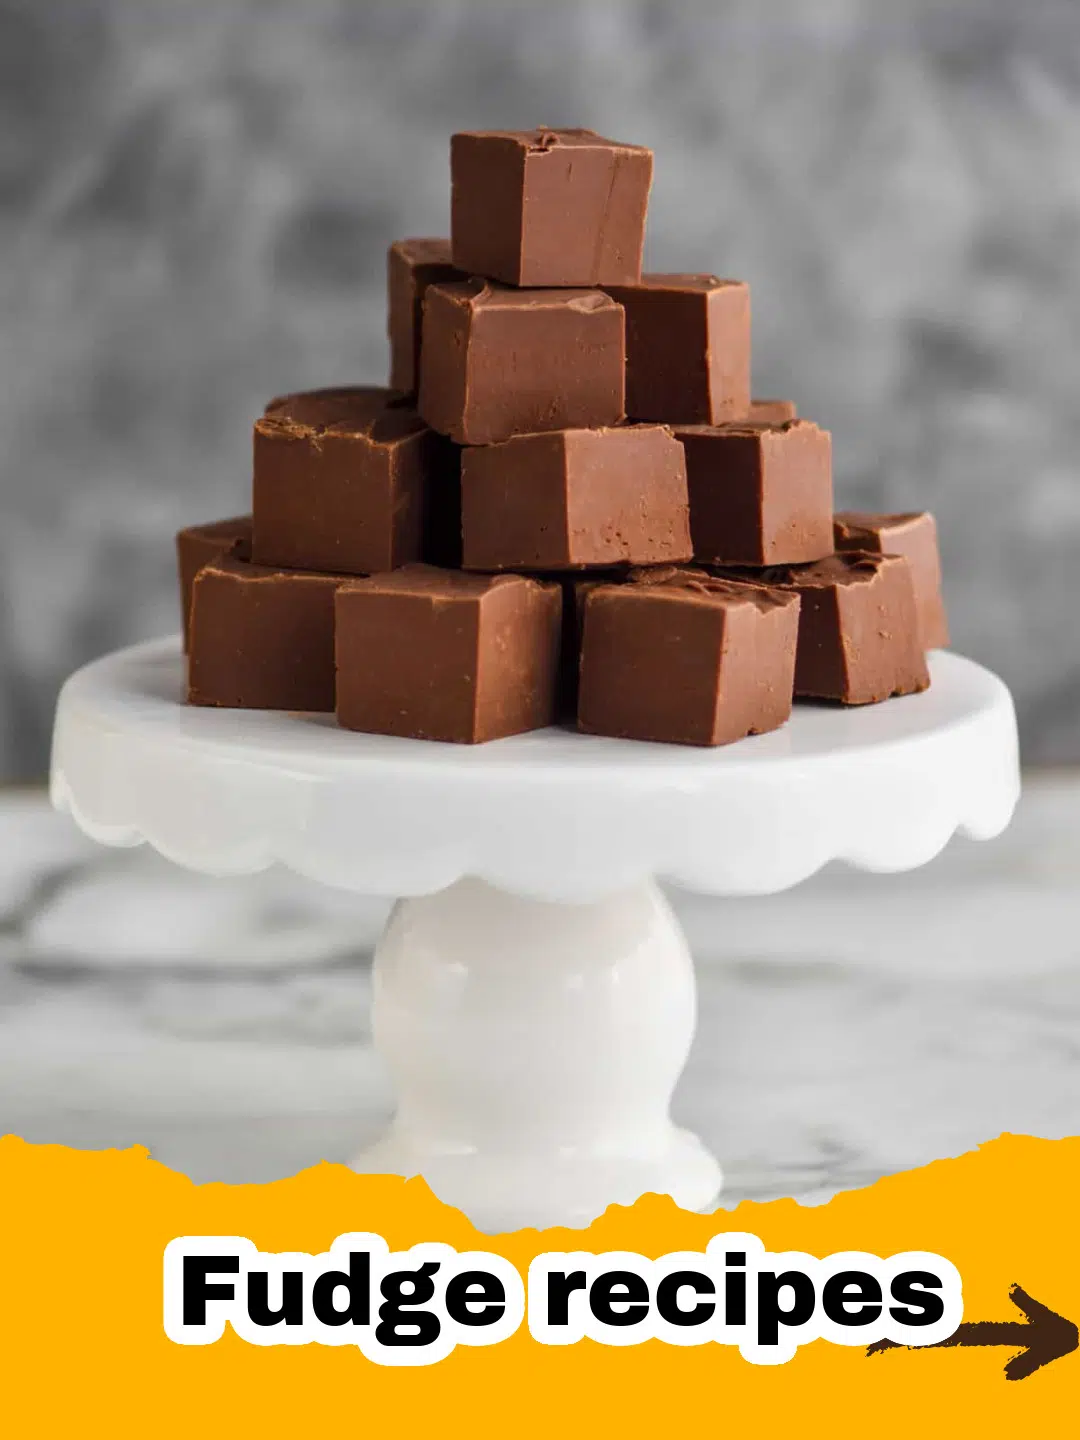
Step 7: Cut and serve. Once thoroughly chilled and firm, use the parchment paper overhang to lift the entire block of fudge out of the pan. Place it on a cutting board and cut it into 1-inch squares using a sharp knife. For clean cuts, wipe the knife blade with a warm, damp cloth between each slice. Enjoy your perfect chocolate fudge recipes!
Variations & Serving Suggestions
These classic fudge recipes are a fantastic base for creativity! While delicious on its own, there are countless ways to customize your fudge and make it truly your own. Experimenting with different additions can lead to delightful new flavor profiles.
Flavor Variations:
- Nutty Fudge: Fold in 1 cup of chopped walnuts, pecans, or almonds with the vanilla extract for a classic crunch. Much like the star of The Ultimate Pecan Tassies Recipe, pecans add a wonderful texture here.
- Peppermint Swirl: Add 1/2 teaspoon of peppermint extract with the vanilla. For an extra festive touch, sprinkle crushed candy canes on top before chilling. This is one of my favorite holiday fudge recipes!
- Espresso Kick: Dissolve 1-2 teaspoons of instant espresso powder in the vanilla extract before adding to the fudge mixture. This deepens the chocolate flavor beautifully.
- Salted Caramel Swirl: After pouring the fudge into the pan, drizzle warm salted caramel sauce over the top and swirl gently with a knife before chilling. These complex fudge recipes are amazing!
- Peanut Butter Fudge: You can create a distinct peanut butter fudge layer by melting 1 cup of peanut butter chips with 1/4 cup sweetened condensed milk in a separate bowl, then dolloping and swirling it into the chocolate fudge before chilling.
Serving Suggestions:
- Gift Giving: Cut into squares, place in decorative tins or cellophane bags, and tie with a ribbon for a thoughtful homemade gift. Everyone loves receiving homemade fudge recipes!
- Dessert Platter: Arrange fudge alongside cookies, brownies, and other small treats for an impressive dessert spread.
- Coffee Companion: A small square of rich fudge pairs wonderfully with a cup of hot coffee or tea.
- Ice Cream Topping: Warm a piece of fudge slightly and crumble it over vanilla ice cream for an instant decadent treat.
Nutrition Information
Here's a breakdown of the estimated nutrition information per serving for our Classic Chocolate Fudge, based on 36 servings per 8x8 inch pan. Please remember these are estimates and can vary based on specific ingredients and brands used. These fudge recipes are an indulgence!
| Nutrient | Amount Per Serving |
|---|---|
| Calories | 180 kcal |
| Carbohydrate Content | 25g |
| Cholesterol Content | 20mg |
| Fat Content | 9g |
| Fiber Content | 1g |
| Protein Content | 2g |
| Saturated Fat Content | 5g |
| Serving Size | 1 piece (approx. 1 oz) |
| Sodium Content | 30mg |
| Sugar Content | 22g |
| Trans Fat Content | 0g |
| Unsaturated Fat Content | 4g |
Storing your homemade fudge properly is key to keeping it fresh and delicious. Once cooled and cut, store your fudge in an airtight container at room temperature for up to 2 weeks, or in the refrigerator for up to 3-4 weeks. If you plan to make a large batch of fudge recipes for a party or for gifting, consider using high-quality containers. I often use Basics Glass Food Storage containers because they seal tightly and keep the fudge fresh for longer, plus they are reusable and eco-friendly. For longer storage, fudge can be frozen for up to 3 months. Just be sure to wrap it tightly in plastic wrap and then place it in a freezer-safe bag or container.
Conclusion
There's something truly special about the simplicity and pure joy that comes from making and sharing homemade fudge. These easy fudge recipes prove that you don't need fancy equipment or a culinary degree to create something incredibly decadent and satisfying. Whether you're making it for a holiday gathering, a thoughtful gift, or just to satisfy a sweet craving, this classic chocolate fudge is guaranteed to impress. So go ahead, whip up a batch, and let the creamy, rich flavors remind you of the sweet moments in life. Happy fudging!
FAQs
Why is my fudge grainy?
Grainy fudge is often caused by sugar crystals not dissolving properly or crystallizing during the cooling process. In this recipe, continuous stirring over medium-low heat until completely smooth helps prevent graininess. Ensure you don't scrape down the sides of the pan once it's off the heat, as any stray crystals can cause the entire batch to crystallize.
How long does homemade fudge last?
Homemade fudge can last up to 2 weeks at room temperature in an airtight container, or 3-4 weeks in the refrigerator. For longer storage, it can be frozen for up to 3 months. Make sure it's tightly wrapped to prevent freezer burn.
Can I use different types of chocolate in this fudge recipe?
Yes, you can experiment with different chocolates! While semi-sweet is recommended for a classic flavor, milk chocolate will result in a sweeter, milder fudge. Dark chocolate can also be used for a more intense, less sweet flavor. Just ensure you're using good quality chocolate chips or finely chopped bars.
What are some popular variations for this classic chocolate fudge?
This recipe is incredibly versatile! You can add 1 cup of chopped nuts (walnuts, pecans, almonds) for a nutty crunch. For a festive touch, stir in peppermint extract and crushed candy canes. Espresso powder can deepen the chocolate flavor, or you can swirl in warm caramel or peanut butter for an extra layer of decadence. The possibilities for fudge recipes are endless!

Classic Chocolate Fudge
- Total Time: 2 hours 17 minutes
- Yield: 36 pieces 1x
Description
An incredibly easy and foolproof recipe for rich, creamy classic chocolate fudge made without a candy thermometer. Perfect for holiday gifting or a simple sweet indulgence.
Ingredients
14 ounces (1 can) sweetened condensed milk
2 cups (12 ounces) semi-sweet chocolate chips (or chopped chocolate)
1/4 cup unsalted butter
1 teaspoon vanilla extract
Pinch of salt (optional, to enhance flavor)
Instructions
Step 1: Prepare your pan. Line an 8x8 inch square baking pan with parchment paper, leaving an overhang on the sides. Lightly grease the parchment paper with butter or non-stick spray.
Step 2: Combine ingredients. In a large, heavy-bottomed saucepan over medium-low heat, combine the sweetened condensed milk, chocolate chips, and butter.
Step 3: Melt and stir. Continuously stir the mixture with a silicone spatula or wooden spoon as the chocolate and butter melt. Continue stirring until the mixture is completely smooth and all the chocolate is melted and fully incorporated. This usually takes about 5-7 minutes.
Step 4: Remove from heat and add vanilla. Once smooth and glossy, remove the pan from the heat. Stir in the vanilla extract and an optional pinch of salt. If adding any mix-ins like nuts, fold them in now.
Step 5: Pour and spread. Immediately pour the hot fudge mixture into your prepared pan. Use the spatula to spread it evenly into all corners of the pan, working quickly.
Step 6: Chill to set. Place the pan in the refrigerator for at least 2-4 hours, or until the fudge is firm. For best results, chill overnight.
Step 7: Cut and serve. Once thoroughly chilled and firm, use the parchment paper overhang to lift the entire block of fudge out of the pan. Place it on a cutting board and cut it into 1-inch squares using a sharp knife. For clean cuts, wipe the knife blade with a warm, damp cloth between each slice.
Notes
For best results, use good quality chocolate chips. If adding nuts, fold them in quickly after removing the mixture from the heat. Store fudge in an airtight container at room temperature or in the refrigerator.
- Prep Time: 10 minutes
- Cook Time: 7 minutes
- Category: Dessert
- Cuisine: American
Nutrition
- Serving Size: 1 piece (approx. 1 oz)
- Calories: 180 kcal
- Sugar: 22g
- Sodium: 30mg
- Fat: 9g
- Saturated Fat: 5g
- Unsaturated Fat: 4g
- Trans Fat: 0g
- Carbohydrates: 25g
- Fiber: 1g
- Protein: 2g
- Cholesterol: 20mg
Leave a Reply