There's something truly magical about the holidays, isn't there? For me, it’s less about the presents and more about the traditions that warm the soul. Growing up, the smell of pine and freshly baked cookies was the soundtrack to December, but the true highlight was always the moment my grandmother would bring out her special homemade egg nog. It wasn't just a drink; it was a ritual. Each year, we'd gather around, the scent of nutmeg and vanilla filling the air, and take that first creamy, rich sip. That first taste of this amazing egg nog recipe transported me straight to the heart of Christmas. It felt like a warm hug in a glass, a sweet promise of joy and togetherness. That cherished memory is exactly what I pour into this incredible egg nog recipe, a legacy of warmth and festive spirit that I’m thrilled to share with you today.
Why This Egg Nog Recipe is a Must-Try
- Unbeatable Creaminess and Flavor: Forget store-bought! This egg nog recipe delivers a luxurious texture and deep, complex flavors that are simply unmatched.
- Made with Love, Just Like Grandma's: Crafted with simple, wholesome ingredients, this egg nog recipe evokes nostalgic feelings and tastes just like the holidays should.
- Versatile for All Occasions: Enjoy it virgin for a family-friendly treat, or easily spike it for an adult celebration. This egg nog recipe is perfect for everyone.
- Perfect for Holiday Entertaining: Whether you're hosting a grand party or a quiet family evening, this homemade egg nog recipe is a showstopper that will impress your guests.
Key Ingredient Notes
Eggs
The foundation of any great egg nog recipe starts with fresh, high-quality eggs. While we're tempering the yolks to ensure safety, using fresh eggs is always recommended for the best flavor and consistency. For this egg nog recipe, we're primarily using the yolks for richness and thickening, though some recipes incorporate the whites for a lighter, frothy texture. Ensure your eggs are at room temperature for easier separation and smoother whisking.
Whole Milk and Heavy Cream
This is where the magic happens for that signature richness in our egg nog recipe. A combination of whole milk and heavy cream provides the perfect balance of liquid and fat, resulting in a velvety smooth texture. Do not skimp on the fat content; this is a holiday indulgence after all! The creaminess is what makes this egg nog recipe truly special and utterly irresistible.
Spices: Nutmeg and Vanilla
These two spices are non-negotiable for a classic egg nog recipe. Freshly grated nutmeg makes an enormous difference compared to pre-ground. Its warm, woody, and slightly sweet aroma elevates the entire drink. Vanilla extract, or even better, vanilla bean paste, adds a depth of flavor that complements the richness of the dairy and eggs. Don't be shy with a generous sprinkle of nutmeg on top of each serving!
Step-by-Step Guide with Pro Tips
Crafting the perfect egg nog recipe is a delightful process. Follow these steps carefully for a smooth, rich, and utterly delicious result!
Gather Your Tools and Ingredients
Before you begin, ensure you have all your ingredients measured and ready. You'll need a large saucepan, a whisk, a heat-proof bowl, and a fine-mesh sieve. Having everything prepped makes the process much smoother for this amazing egg nog recipe.
Prepare the Egg Base
In a large, heat-proof bowl, whisk together the egg yolks and granulated sugar until the mixture is pale yellow and creamy. This is a crucial step for achieving the right consistency in our egg nog recipe. Continue whisking until the sugar has mostly dissolved.
Scald the Milk and Cream
In your large saucepan, combine the whole milk, heavy cream, and a pinch of salt. Heat over medium heat, stirring occasionally, until the mixture just begins to simmer around the edges but is not boiling. This process, known as scalding, helps to infuse the flavors and prepare the dairy for tempering.
Temper the Egg Yolks
This is the most critical step to prevent scrambled eggs! While continuously whisking the egg yolk mixture, slowly pour about half of the hot milk mixture into the yolks. This gradually raises the temperature of the eggs without cooking them. Once combined, pour the tempered egg mixture back into the saucepan with the remaining hot milk. Keep whisking constantly!
Cook the Egg Nog Base
Return the saucepan to medium-low heat. Cook, stirring constantly with a wooden spoon or spatula, until the mixture thickens enough to coat the back of the spoon. This typically takes about 5-8 minutes. Do NOT let it boil. If you have a candy thermometer, aim for 160-170°F (71-77°C) to ensure it's safely cooked. This careful cooking is key to a smooth and safe egg nog recipe.
Strain and Chill
Immediately remove the saucepan from the heat. Pour the cooked egg nog mixture through a fine-mesh sieve into a clean bowl. This removes any small bits of cooked egg or impurities, ensuring a silky smooth egg nog recipe. Stir in the vanilla extract and freshly grated nutmeg. Cover the bowl and chill thoroughly in the refrigerator for at least 4 hours, or preferably overnight. Chilling allows the flavors to meld beautifully and the egg nog recipe to thicken further.
Variations & Serving Suggestions
This homemade egg nog recipe is delicious on its own, but here are some ideas to make it even more special:
- Spiked Egg Nog: For an adult version, stir in your favorite spirits after the egg nog has chilled. Brandy, rum, or bourbon are classic choices. Start with 1/2 to 1 cup per batch, and adjust to your taste.
- Non-Dairy Egg Nog: While the traditional egg nog recipe relies on dairy, you can experiment with full-fat coconut milk and cream, or a blend of almond and cashew milk for a dairy-free alternative. You might need to adjust the thickening agent slightly.
- Flavor Twists: Add a splash of almond extract, a hint of orange zest, or a pinch of cinnamon along with the nutmeg for different flavor profiles. A dash of espresso powder can also create a wonderful coffee egg nog recipe variation.
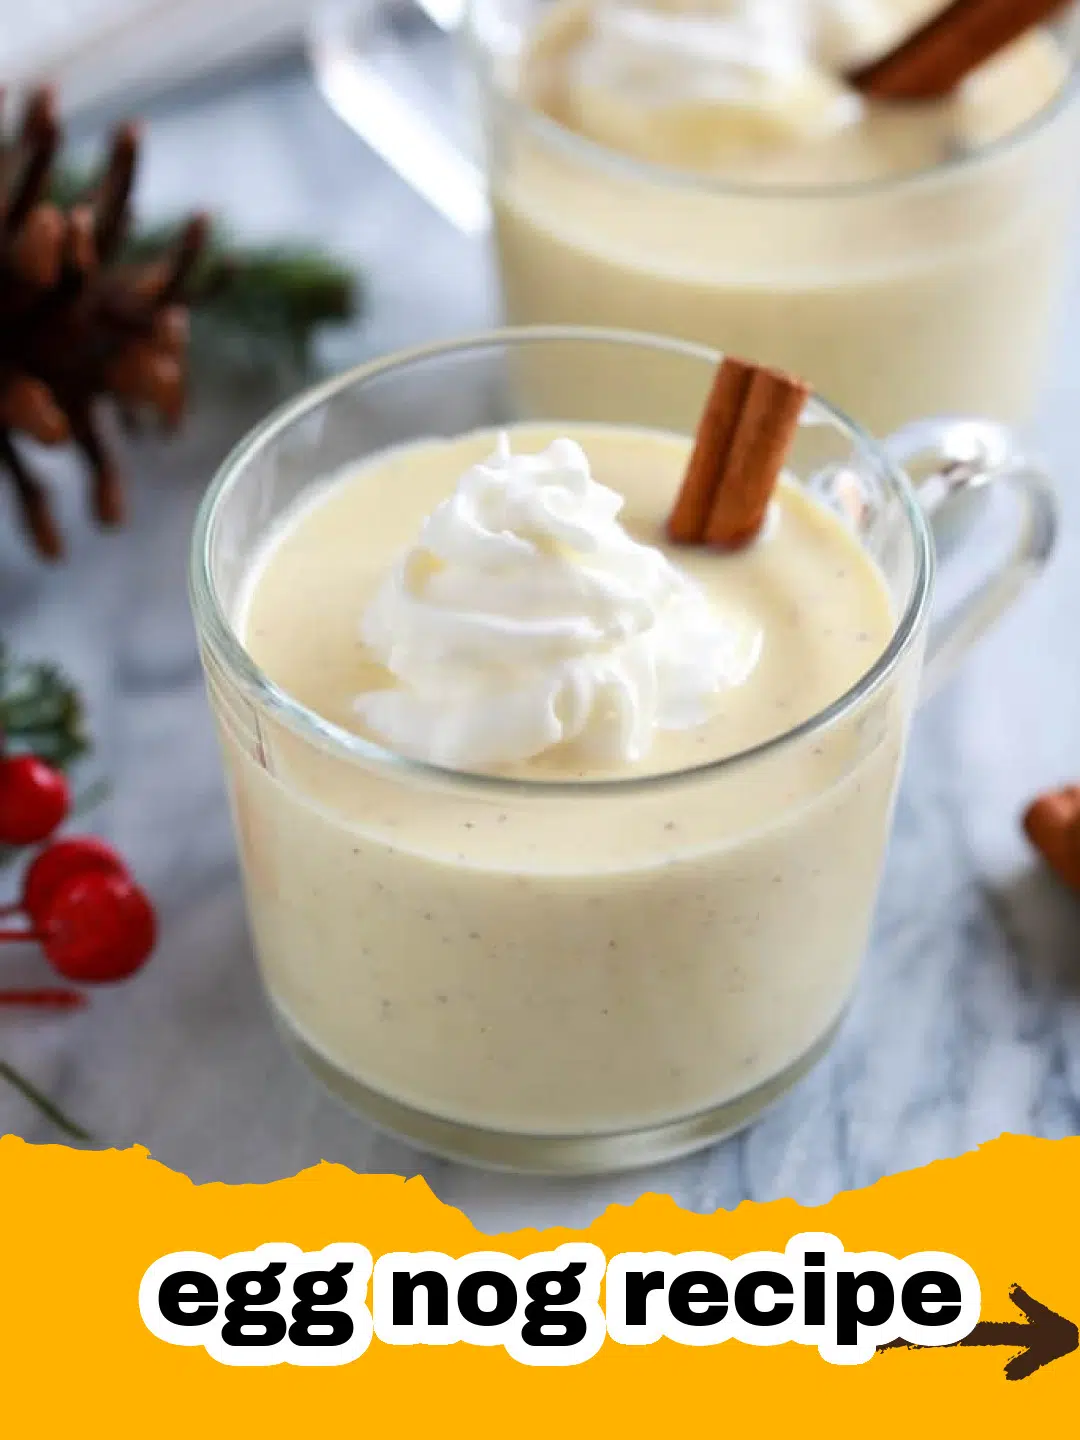
- Serving Suggestions: Serve your chilled egg nog recipe in elegant glasses, garnished with a generous dusting of fresh nutmeg or a cinnamon stick. It's also fantastic served alongside holiday treats like Cranberry Bliss Bars or hot chocolate. For storage, I recommend using quality Basics Glass Food Storage containers to keep it fresh in the refrigerator for up to 3-4 days. This classic egg nog recipe is a perfect companion to any festive spread.
Nutrition Information
Here's a breakdown of the nutritional content for one serving of this rich egg nog recipe. Please note, these are estimates and can vary based on specific ingredients and preparation methods.
| Nutrient | Amount Per Serving |
|---|---|
| Calories | 350 kcal |
| Carbohydrates | 30g |
| Cholesterol | 220mg |
| Fat | 22g |
| Fiber | 0g |
| Protein | 10g |
| Saturated Fat | 13g |
| Serving Size | 1 cup (240ml) |
| Sodium | 100mg |
| Sugar | 25g |
| Trans Fat | 0.5g |
| Unsaturated Fat | 8.5g |
Conclusion
There you have it – my cherished, perfected egg nog recipe, ready to become a beloved part of your own holiday traditions. This isn't just a drink; it's a taste of nostalgia, a symbol of togetherness, and a truly delicious way to celebrate the festive season. I hope you enjoy making and sharing this creamy, dreamy egg nog recipe as much as I do. Cheers to a season filled with warmth, joy, and the best homemade egg nog you've ever tasted!
FAQs
Is homemade egg nog safe to drink with raw eggs?
This egg nog recipe involves cooking the egg yolks and milk mixture to a specific temperature (160-170u00b0F or 71-77u00b0C), which effectively pasteurizes the eggs, making the egg nog safe to consume. Always ensure you reach this temperature while cooking.
How long does homemade egg nog last in the refrigerator?
Properly stored in an airtight container, homemade egg nog can last for 3-4 days in the refrigerator. If you add alcohol, it can extend the shelf life slightly, often up to a week, due to the preservative qualities of the alcohol.
Can I make this egg nog recipe alcoholic?
Absolutely! This egg nog recipe is designed to be versatile. After the egg nog has been chilled, you can stir in your preferred spirits such as brandy, rum, or bourbon. Start with 1/2 cup for the entire batch and adjust to your taste for the perfect spiked egg nog.
What is the best way to serve egg nog?
Serve this homemade egg nog recipe well-chilled in festive glasses. A generous dusting of freshly grated nutmeg is essential for both flavor and presentation. A cinnamon stick can also add a nice touch. For extra indulgence, you can top it with a dollop of whipped cream.

Homemade Egg Nog
- Total Time: 30 minutes (plus chilling)
- Yield: 8 servings 1x
Description
A rich, creamy, and traditional egg nog recipe that tastes just like the holidays. Perfect for family gatherings or festive celebrations, easily adaptable for an alcoholic version.
Ingredients
6 large egg yolks
1/2 cup granulated sugar, plus more to taste
4 cups whole milk
2 cups heavy cream
1/4 teaspoon salt
1 teaspoon vanilla extract (or 1/2 tsp vanilla bean paste)
Freshly grated nutmeg, for serving
Instructions
Step 1: In a large, heat-proof bowl, whisk together the egg yolks and granulated sugar until the mixture is pale yellow and creamy. Continue whisking until the sugar has mostly dissolved.
Step 2: In a large saucepan, combine the whole milk, heavy cream, and salt. Heat over medium heat, stirring occasionally, until the mixture just begins to simmer around the edges (small bubbles forming) but is not boiling. Do not let it boil.
Step 3: While continuously whisking the egg yolk mixture, slowly pour about half of the hot milk mixture into the yolks. This process, known as tempering, gradually raises the temperature of the eggs without scrambling them. Once combined, pour the tempered egg mixture back into the saucepan with the remaining hot milk.
Step 4: Return the saucepan to medium-low heat. Cook, stirring constantly with a wooden spoon or heat-proof spatula, until the mixture thickens enough to coat the back of the spoon. This typically takes about 5-8 minutes. The temperature should reach 160-170°F (71-77°C) for safe consumption. Do NOT let it boil at any point during this step.
Step 5: Immediately remove the saucepan from the heat. Pour the cooked egg nog mixture through a fine-mesh sieve into a clean bowl. This step ensures a silky smooth texture by removing any small bits of cooked egg.
Step 6: Stir in the vanilla extract or vanilla bean paste. Cover the bowl tightly and chill thoroughly in the refrigerator for at least 4 hours, or preferably overnight, to allow the flavors to meld and the egg nog to thicken further.
Step 7: When ready to serve, whisk the chilled egg nog until smooth. Pour into individual glasses and garnish generously with freshly grated nutmeg. For an alcoholic version, stir in your preferred spirits (such as brandy, rum, or bourbon) to taste before serving.
Notes
For an even richer flavor, prepare the egg nog a day in advance to allow the flavors to fully develop. If you prefer a thinner consistency, you can slightly reduce the amount of heavy cream or add a splash more milk when serving. Always ensure eggs are cooked to the proper temperature for safety.
- Prep Time: 20 minutes
- Cook Time: 10 minutes
- Category: Holiday Drinks
- Cuisine: American
Nutrition
- Serving Size: 1 cup (240ml)
- Calories: 350 kcal
- Sugar: 25g
- Sodium: 100mg
- Fat: 22g
- Saturated Fat: 13g
- Unsaturated Fat: 8.5g
- Trans Fat: 0.5g
- Carbohydrates: 30g
- Fiber: 0g
- Protein: 10g
- Cholesterol: 220mg
Leave a Reply