My earliest crafting memories are vividly tied to the joy of making things from a simple salt dough recipe. I remember sitting at our kitchen table, flour dusting my small hands, my grandma patiently guiding me through mixing, kneading, and shaping. It wasn't just about the finished ornaments, though those were always cherished; it was about the process, the shared laughter, and the magic of transforming humble ingredients into something tangible and personal. That simple salt dough recipe became a gateway to creativity, a way to make personalized gifts for family holidays, or just spend a rainy afternoon lost in imaginative play. Even now, the smell of baking salt dough brings back a wave of nostalgia, reminding me of those precious moments. If you've ever wanted to recreate those warm, handmade memories or start a new tradition with your own loved ones, you're in the right place. This ultimate salt dough recipe isn't just easy; it's a timeless craft that brings immense satisfaction. For another delightful hands-on activity, though an edible one, check out our guide to Homemade Soft & Fluffy Sandwich Bread!
Why This Salt Dough Recipe is a Must-Try
This classic salt dough recipe is a crafting powerhouse for countless reasons:
- Incredibly Simple Ingredients: You likely have everything you need in your pantry right now – flour, salt, and water. No fancy or expensive supplies required, making it an accessible craft for everyone, especially when looking for a fun salt dough recipe project.
- Endlessly Versatile: From festive Christmas ornaments and personalized handprint keepsakes to intricate decorative bowls and imaginative play figures, the possibilities with this salt dough recipe are truly limitless.
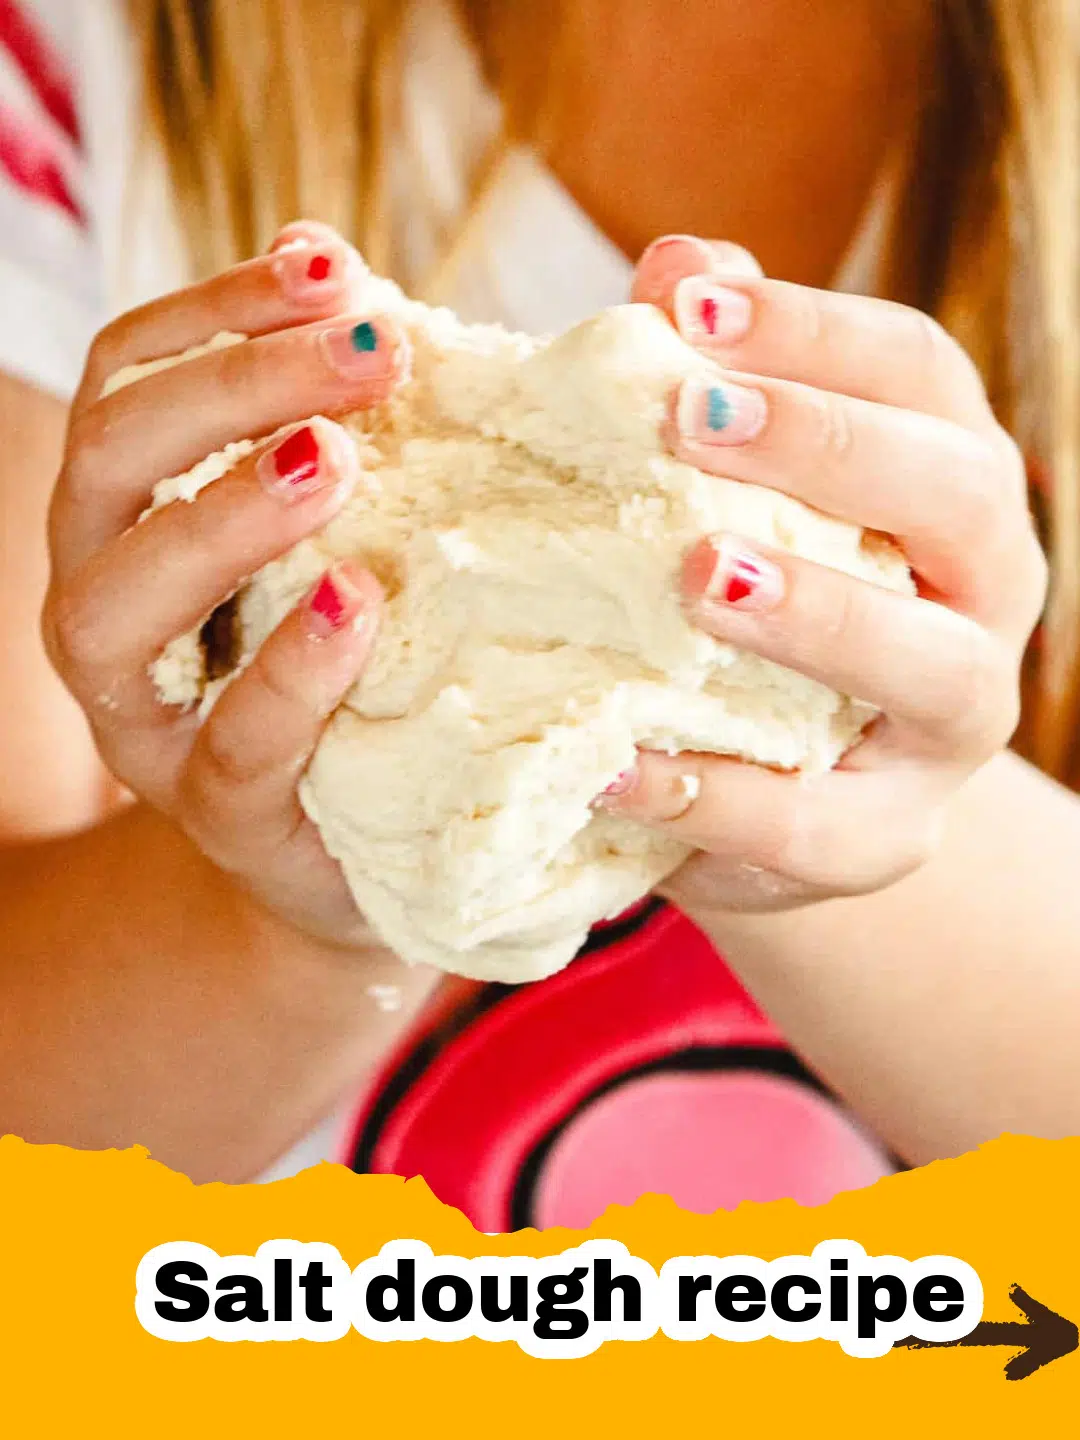
- Family-Friendly Fun: It's a fantastic activity for all ages! Kids love the hands-on process of mixing and shaping, while adults can enjoy the therapeutic aspect of creating beautiful, lasting pieces. This specific salt dough recipe provides a wonderful bonding opportunity.
- Durable & Long-Lasting: Once properly baked and sealed, salt dough creations can last for years, becoming cherished mementos or unique homemade gifts that stand the test of time, thanks to the robust nature of a good salt dough recipe.
Key Ingredient Notes for Your Salt Dough Recipe
While the salt dough recipe calls for incredibly basic ingredients, understanding their role can make a big difference in your results.
All-Purpose Flour: The Foundation
Standard all-purpose flour is your go-to for this salt dough recipe. It provides the structure for your dough, giving it the necessary elasticity and body to be molded and shaped. While other flours might work, all-purpose is consistently reliable and gives the best texture for crafting. Avoid self-rising flour, as the leavening agents can cause unexpected bubbles or cracks during baking.
Fine Salt: The Preservative & Hardener
Fine-grain table salt is crucial for this salt dough recipe. It not only helps to preserve your creations but also contributes to the dough's hardness and durability once baked. Coarse salts like kosher or sea salt can be used, but you might need to dissolve them in the water first to ensure they fully incorporate and don't create a grainy texture in your finished piece. The salt content is what makes this dough inedible, so always remind little ones that it's for crafting, not tasting! Achieving the right salt to flour ratio is fundamental in any successful salt dough recipe.
Warm Water: The Binder
The temperature of your water can affect how easily the salt dissolves and how well your dough comes together. Warm water (not hot!) helps the salt dissolve more efficiently, resulting in a smoother dough. Add water gradually to the flour and salt mixture, as too much water will make your dough sticky and hard to work with, while too little will make it crumbly. You’re aiming for a Play-Doh like consistency. This balance is key for any reliable salt dough recipe.
Step-by-Step Guide with Pro Tips for the Salt Dough Recipe
Creating a perfect salt dough recipe is an art, but it's an incredibly forgiving one. Follow these steps for beautiful, durable creations every time.
Step 1: In a large mixing bowl, combine the 2 cups of all-purpose flour and 1 cup of fine table salt. Whisk them together thoroughly to ensure the salt is evenly distributed.
Step 2: Gradually add the warm water to the flour and salt mixture, starting with 3/4 cup. Mix with a spoon until a shaggy dough begins to form.
Step 3: Turn the dough out onto a lightly floured surface. Knead the dough for about 5-10 minutes, adding a tiny bit more water if it's too crumbly, or a little more flour if it's too sticky. You're aiming for a smooth, pliable consistency, similar to Play-Doh. This is key for a good salt dough recipe.
Step 4: Roll out the salt dough to your desired thickness, typically 1/4 to 1/2 inch, using a rolling pin. Thicker pieces will take longer to bake.
Step 5: Use cookie cutters, knives, or your hands to cut out or shape your desired creations. For ornaments or hanging decorations, don't forget to poke a hole at the top with a straw or skewer before baking.
Step 6: Carefully transfer your salt dough creations to a baking sheet lined with parchment paper. Preheat your oven to its lowest setting, usually 200-250°F (90-120°C).
Step 7: Bake the salt dough creations for 2-3 hours, or even longer for very thick pieces. The exact baking time will depend on the thickness of your items and your oven. They should be completely dry and hard to the touch when done. If they feel soft, continue baking, as underbaked pieces from a salt dough recipe can be fragile.
Step 8: Once baked, turn off the oven and leave the salt dough items inside to cool gradually, which helps prevent cracking. This patient approach improves the final quality of any salt dough recipe project.
Step 9: After cooling completely, your salt dough crafts are ready for decorating! Paint with acrylics, add glitter, or seal with Mod Podge or clear varnish for durability and a protective finish. For storing your finished items or unused dough, consider using secure containers like Basics Glass Food Storage to keep them safe and dry, ensuring your salt dough recipe efforts last. This step is crucial for making the most of your crafting.
Variations & Serving Suggestions (for your creative endeavors!)
The beauty of this basic salt dough recipe is its incredible versatility. Once you've mastered the foundational mix, you can unleash your creativity!
Adding Color: A Splash of Vibrancy
You can add color to your salt dough in a few ways. For subtle, pastel hues, knead in a few drops of food coloring with the water when you're mixing the dough. Remember that colors will deepen slightly when baked. For vibrant, bolder colors, paint your dried salt dough creations with acrylic paints after baking. This allows for more intricate designs and a wider color palette. Think about making colorful ornaments or bright play figures. This is an exciting way to customize any salt dough recipe creation.
Texture and Scent: Engaging the Senses
Experiment with textures! Before baking, you can press various objects into the dough for imprints – leaves, lace, stamps, or even pasta shapes. For a delightful aroma, knead in a pinch of ground cinnamon, nutmeg, or a few drops of essential oil (like orange or peppermint) to the dough itself. This is especially lovely for holiday ornaments. Just be mindful that strong essential oils can sometimes affect the dough's integrity if added in large quantities. This makes the salt dough recipe even more sensory.
Beyond Ornaments: Creative Projects
While ornaments are classic, this salt dough recipe can be used for so much more:
- Handprint or Footprint Keepsakes: A timeless way to capture tiny hands or feet. Roll out the dough, press firmly, trim around the print, and bake. Don't forget to poke a hole for hanging!
- Decorative Bowls: Drape a rolled-out piece of dough over an oven-safe bowl (lined with foil) and bake until firm, creating a unique trinket dish.
- Gift Tags: Cut out shapes, stamp names or messages, and paint for personalized gift tags that can be reused.
- Game Pieces or Magnets: Mold small shapes, bake, and then glue magnets to the back for custom fridge decor or unique board game pieces.
- Holiday Decorations: From intricate snowflake ornaments for Christmas to spooky Halloween figures or spring-themed flowers, the salt dough recipe is perfect for seasonal decor.
Remember that for any intricate designs or larger pieces, ensure thorough drying and baking to prevent cracking. An internal link to another creative project, like our Ultimate Easy Weeknight Vegetable Stir Fry Recipe might inspire you in the kitchen after your crafting session!
Nutrition Information (Not for Consumption)
Please remember that this salt dough recipe is intended for crafting purposes only and is NOT EDIBLE. The high salt content makes it unsafe for consumption. The nutritional information below is provided for schema completeness but should not be interpreted as dietary advice. Always supervise children when crafting to ensure they understand that salt dough is not food.
| Nutrient | Amount per Serving (Approx.) |
|---|---|
| Calories | 0 kcal |
| Carbohydrate Content | 0g |
| Cholesterol Content | 0mg |
| Fat Content | 0g |
| Fiber Content | 0g |
| Protein Content | 0g |
| Saturated Fat Content | 0g |
| Serving Size | Not for consumption |
| Sodium Content | 0mg |
| Sugar Content | 0g |
| Trans Fat Content | 0g |
| Unsaturated Fat Content | 0g |
Disclaimer: This is a craft recipe, not a food recipe. Do not eat salt dough.
Conclusion
There's something truly special about creating with your hands, and this classic salt dough recipe offers an accessible and rewarding way to do just that. Whether you're making cherished keepsakes, personalized gifts, or simply enjoying a moment of mindful creativity, the magic of salt dough endures. It’s more than just flour, salt, and water; it’s a recipe for memories. So gather your ingredients, call your loved ones, and let the crafting begin! I hope this salt dough recipe brings as much joy to your home as it has to mine. Happy crafting!
FAQs
How long does salt dough take to dry?
When baked at a low temperature (200-250u00b0F or 90-120u00b0C), salt dough can take anywhere from 2 to 4 hours to dry completely, depending on the thickness of your creations. Very thick pieces might require longer. They should be hard and dry to the touch when finished.
Can you air dry salt dough instead of baking it?
Yes, you can air dry salt dough, but it takes much longer u2013 typically 2-3 days, or even up to a week for thicker items. Air drying might also result in more warping or cracking compared to slow baking. Baking offers a more controlled and quicker drying process.
How do you prevent salt dough from cracking?
To prevent cracking, ensure your dough is well-kneaded and smooth before shaping. Bake at a very low temperature (200-250u00b0F) for an extended period, allowing moisture to evaporate slowly. After baking, leave the items in the cooling oven to cool down gradually, which helps prevent thermal shock and cracks. Applying a sealant after cooling also adds durability.
How can I store leftover salt dough?
You can store leftover salt dough in an airtight container or tightly wrapped in plastic wrap in the refrigerator for up to 1-2 days. If it becomes a little stiff, you can try kneading in a tiny drop of water to revive it, but it's generally best to use freshly made dough for optimal results.

Classic Salt Dough Recipe for Crafts
- Total Time: 2 hours 15 minutes - 3 hours 15 minutes
- Yield: Approx. 2-3 dozen small ornaments or several larger pieces
Description
A simple and versatile salt dough recipe perfect for creating durable, long-lasting ornaments, handprints, and various craft projects. Easy to make with common pantry ingredients.
Ingredients
2 cups all-purpose flour
1 cup fine table salt
1 cup warm water (plus more if needed)
Optional: Food coloring, acrylic paints, sealant (e.g., Mod Podge, clear varnish)
Instructions
Step 1: In a large mixing bowl, combine the 2 cups of all-purpose flour and 1 cup of fine table salt. Whisk them together thoroughly to ensure the salt is evenly distributed.
Step 2: Gradually add the warm water to the flour and salt mixture, starting with 3/4 cup. Mix with a spoon until a shaggy dough begins to form.
Step 3: Turn the dough out onto a lightly floured surface. Knead the dough for about 5-10 minutes, adding a tiny bit more water if it's too crumbly, or a little more flour if it's too sticky. You're aiming for a smooth, pliable consistency, similar to Play-Doh.
Step 4: Roll out the salt dough to your desired thickness, typically 1/4 to 1/2 inch, using a rolling pin. Thicker pieces will take longer to bake.
Step 5: Use cookie cutters, knives, or your hands to cut out or shape your desired creations. For ornaments or hanging decorations, don't forget to poke a hole at the top with a straw or skewer before baking.
Step 6: Carefully transfer your salt dough creations to a baking sheet lined with parchment paper. Preheat your oven to its lowest setting, usually 200-250°F (90-120°C).
Step 7: Bake the salt dough creations for 2-3 hours, or even longer for very thick pieces. The exact baking time will depend on the thickness of your items and your oven. They should be completely dry and hard to the touch when done. If they feel soft, continue baking.
Step 8: Once baked, turn off the oven and leave the salt dough items inside to cool gradually, which helps prevent cracking.
Step 9: After cooling completely, your salt dough crafts are ready for decorating! Paint with acrylics, add glitter, or seal with Mod Podge or clear varnish for durability and a protective finish.
Notes
This salt dough recipe is for crafting purposes only and is not edible. Always supervise children during crafting activities.
- Prep Time: 15 minutes
- Cook Time: 2-3 hours
- Category: Crafts
- Cuisine: N/A
Nutrition
- Serving Size: Not for consumption
- Calories: 0 kcal
- Sugar: 0g
- Sodium: 0mg
- Fat: 0g
- Saturated Fat: 0g
- Unsaturated Fat: 0g
- Trans Fat: 0g
- Carbohydrates: 0g
- Fiber: 0g
- Protein: 0g
- Cholesterol: 0mg
Leave a Reply