I remember my grandma's kitchen during the holidays. It wasn't just a kitchen; it was a workshop of magic, filled with the comforting scents of vanilla and baking butter. Every year, without fail, she'd pull out her well-worn cookie cutters and embark on her annual sugar cookie ritual. As a child, I’d perch on a stool, flour dusting my nose, eagerly waiting for my turn to press out stars, hearts, and little gingerbread men from the smooth, buttery dough. That classic sugar cookie recipe wasn't just a recipe; it was a tradition, a cornerstone of our family's festive celebrations. Those memories are etched deep, and they're what inspired me to perfect my own rendition of the ultimate classic cut-out sugar cookie recipe, a recipe that brings that same warmth and joy to my home, and hopefully, to yours. It’s a foundational sugar cookie recipe, versatile and absolutely delicious, designed to be shared and cherished.
Why This Sugar Cookie Recipe is a Must-Try
There are countless sugar cookie recipe variations out there, but this one stands out for several reasons. It's not just another cookie; it's the cookie that brings smiles and creates memories, embodying everything a perfect holiday or celebration cookie should be. Here’s why you’ll fall in love with this particular sugar cookie recipe:
- Holds Shape Beautifully: Say goodbye to sad, misshapen cookies! This dough is specifically formulated to maintain its form in the oven, meaning your intricate cut-outs will look exactly as intended. This stability is absolutely crucial for impressive decorating, ensuring all your efforts are beautifully preserved.
- Perfectly Soft & Chewy: Forget rock-hard, brittle cookies that crumble at the first bite. Our sugar cookie recipe yields a consistently tender, melt-in-your-mouth texture with just the right amount of chewiness that keeps you coming back for more. They're soft enough to feel decadent but sturdy enough to handle.
- Simple to Decorate: The naturally flat and sturdy surface of these baked cookies makes them the ideal canvas for any decorating medium. Whether you prefer the sleek finish of royal icing, the creamy indulgence of buttercream, or just a simple sprinkle of colored sugar, these cookies welcome all your creative flourishes. It truly is a joy to decorate these blank slates!
- Versatile for Any Occasion: While often (and lovingly) associated with festive holidays, this incredibly versatile sugar cookie recipe can be adapted for any celebration under the sun. Think whimsical shapes for birthdays, elegant designs for baby showers, or even simple rounds for an everyday sweet treat. Just change your cutters and colors, and you’ve got a whole new theme ready to go.
Key Ingredient Notes for the Best Sugar Cookie Recipe
While a sugar cookie recipe seems straightforward, the quality and precise preparation of your ingredients make all the difference between a good cookie and an unforgettable one. Here are a few things to keep in mind about the star players in this recipe to ensure your cookies turn out perfectly every single time:
Unsalted Butter, Softened
This is arguably the most critical ingredient for achieving the best results with this sugar cookie recipe. Using unsalted butter gives you complete control over the salt content, allowing you to season your cookies just right. More importantly, "softened" is a specific term: it means the butter should be pliable enough to easily indent with your finger without feeling greasy or looking melted. If your butter is too warm, the fat will separate, leading to a sticky dough that’s hard to work with and cookies that spread excessively in the oven. If it's too cold, it won't cream properly with the sugar, resulting in a denser, tougher cookie. The sweet spot? Take it out of the fridge about an hour before you plan to start baking; don’t try to rush it in the microwave!
Granulated Sugar
Beyond its obvious role in providing sweetness, granulated sugar contributes significantly to the delicate texture of our sugar cookie recipe. When it’s properly creamed with butter, the sharp edges of the sugar crystals cut into the butter, creating tiny air pockets. This aeration is essential for a lighter, softer cookie with a delightful crumb. Don't be tempted to drastically reduce the sugar content, as it plays a crucial structural role, affecting both the spread and chewiness of the final cookie.
All-Purpose Flour
Flour provides the fundamental structure for your cookies, giving them their shape and substance. Measuring flour correctly is absolutely vital – too much flour can lead to dry, crumbly, and tough cookies, while too little can make them spread too much, losing their carefully cut shapes. I highly recommend using the spoon-and-level method: gently spoon flour into your measuring cup until it overflows, then level it off with a straight edge (like the back of a knife). Do not scoop directly from the bag, as this can compact the flour, causing you to use up to 25% more than intended. This simple, accurate measuring technique can dramatically improve any sugar cookie recipe.
Vanilla Extract (or Almond Extract)
While classic vanilla is undeniably wonderful and a staple for any traditional sugar cookie recipe, a good quality vanilla extract truly elevates the flavor profile, adding warmth and depth. For those looking for a different aromatic twist, consider using almond extract. Just a tiny bit can transform the flavor, giving your cookies that distinctive bakery-style taste. Feel free to experiment based on your personal preference or the occasion!
Step-by-Step Guide with Pro Tips for the Ultimate Sugar Cookie Recipe
Making the perfect cut-out cookies with this sugar cookie recipe is a satisfying process that feels like an art, but with these detailed steps and seasoned pro tips, you'll be baking and decorating like a seasoned expert in no time. Remember, precision and a little patience are your best friends here!
Mixing the Dough to Perfection
- Step 1: In a large bowl, cream together the softened butter and granulated sugar until light and fluffy. This is the foundation of your cookie texture. You are essentially whipping air into the butter and sugar, which contributes to the cookies’ tenderness. Use an electric mixer on medium speed for a good 2-3 minutes until the mixture is visibly pale yellow and has increased slightly in volume. Don't rush this step; it's critical for a light cookie!
- Step 2: Beat in the eggs one at a time, mixing well after each addition. Stir in the vanilla extract. Ensure each egg is fully incorporated into the butter-sugar mixture before adding the next. This creates an emulsified base. Take a moment to scrape down the sides and bottom of the bowl with a spatula to make sure all ingredients are evenly mixed and no pockets of unmixed butter remain. This ensures consistency throughout your sugar cookie recipe dough.
- Step 3: In a separate medium bowl, whisk together the flour, baking powder, and salt. Gradually add the dry ingredients to the wet ingredients, mixing on low speed until just combined. This is where you need to exercise restraint! Overmixing develops the gluten in the flour, which will lead to tough, dense, and less enjoyable cookies. Mix only until no visible streaks of dry flour remain in the dough. The moment it comes together, stop!
The Crucial Chilling and Precise Rolling of the Dough
- Step 4: Divide the dough into two equal portions, flatten each into a disc, wrap tightly in plastic wrap, and refrigerate for at least 1 hour, or up to 2 days. Chilling is ABSOLUTELY CRUCIAL for this sugar cookie recipe. It firms up the butter, preventing your cookies from spreading excessively in the oven, and makes the dough significantly easier to handle, especially for detailed cut-outs. Do NOT skip or shorten this chilling period! You can even prepare the dough a day or two in advance and store it in your Basics Glass Food Storage containers for easy prep.
- Pro Tip for Even Rolling: For perfectly uniform thickness – which is key for even baking and a beautiful presentation – roll your dough between two sheets of parchment paper or waxed paper. This technique not only prevents the dough from sticking to your rolling pin or counter but also minimizes the need for additional flour. Excessive added flour can dry out your cookies, making them less tender. Aim for about 1/4 inch thickness for a cookie that's sturdy enough for decorating yet remains wonderfully tender to eat.
Expert Cutting and Baking Techniques
- Step 5: Preheat your oven to 375°F (190°C). Line baking sheets with parchment paper or silicone mats. On a lightly floured surface, roll out one disc of chilled dough to about 1/4 inch thickness. Use your favorite cookie cutters to cut out shapes. If, at any point during rolling, the dough becomes too warm, soft, or sticky, don't hesitate to pop it back in the fridge for 10-15 minutes to firm up again. A slightly firm dough is always easier to work with.
- Pro Tip for Seamless Transferring: To preserve the delicate shapes of your cut-out cookies, especially intricate ones, use a thin, flexible metal spatula or an offset spatula to gently lift them from your work surface to the prepared baking sheets. This method helps prevent stretching and distortion. As you accumulate dough scraps, gently press them together into a new disc (avoid overworking it), and re-chill briefly before re-rolling and cutting more shapes.
- Step 6: Carefully transfer the cut-out cookies to the prepared baking sheets, spacing them about 1 inch apart. Reroll any scraps until all dough is used. Ensure consistent spacing for even air circulation around each cookie.
- Step 7: Bake for 8-10 minutes, or until the edges are lightly golden. The centers should still look slightly soft and maybe even a little puffy. Baking time is highly dependent on your oven and the thickness/size of your cookies, so keep a close eye on them. For the signature perfectly soft cookies from this sugar cookie recipe, err on the side of slightly underbaking rather than overbaking; they will continue to set as they cool.
- Step 8: Let the cookies cool on the baking sheets for 5 minutes before transferring them to a wire rack to cool completely. This initial cooling period allows the cookies to firm up sufficiently on the hot sheet, preventing them from breaking or crumbling when you move them.
Masterful Decorating and Smart Storing
- Step 9: Once completely cool, decorate as desired with royal icing, buttercream, or sprinkles. Store in an airtight container. This step is where the real fun begins! Make absolutely sure your cookies are completely cold before you begin decorating, especially if using royal icing, as warmth can cause icing to melt or smudge. For a truly festive touch, these decorated cookies pair wonderfully with a warm mug of The Ultimate Homemade Hot Chocolate Mix Recipe for Cozy Winter Nights, making for an unforgettable treat!
- Storage Tip: Fully decorated cookies can be stored at room temperature in an airtight container for up to a week. If you’re making them ahead of time, un-decorated baked cookies freeze exceptionally well for up to 3 months. Just thaw them at room temperature before decorating.
Variations & Serving Suggestions for Your Sugar Cookie Recipe
This basic sugar cookie recipe is an incredibly versatile foundation, a true blank canvas just waiting for your creative touch! Don't be afraid to experiment and personalize them to suit any taste or occasion. Here are some inspiring ideas to make these cookies truly your own:
Flavor Variations: Endless Possibilities
- Bright Citrus Zest: For a refreshing and aromatic twist, add 1-2 teaspoons of finely grated lemon, orange, or lime zest to the dough when you incorporate the vanilla extract. The zest adds a beautiful, natural brightness that cuts through the sweetness.
- Warm Spice Infusion: If you enjoy a hint of warmth and cozy flavor, stir 1/2 teaspoon of ground cinnamon or nutmeg into the dry ingredients. These subtle spices complement the classic vanilla perfectly. For those who adore more pronounced spiced cookies, you might also enjoy our robust The Ultimate Soft & Chewy Gingerbread Cookie Recipe for a Festive Season.
- Explore Extracts: Beyond the traditional vanilla and almond, consider a drop or two of peppermint extract for a festive holiday batch, or even a touch of rum extract for a sophisticated and unique flavor profile. Maple extract can also add a delightful autumnal note!
- Chocolate Chips: For a simpler, non-cutout cookie variation, fold in 1/2 cup of mini chocolate chips after the flour has been incorporated.
Creative Decorating Ideas: Unleash Your Inner Artist
- Royal Icing Masterpiece: For professional-looking cookies with intricate designs and a smooth, hard finish, royal icing is your go-to. It allows for detailed piping and creates a durable, beautiful surface.
- Creamy Buttercream Dream: If you prefer a softer, richer, and less formal topping, a simple buttercream frosting is always a crowd-pleaser. It stays deliciously creamy and is easy to pipe or spread.
- Effortless Glaze: A quick and easy glaze made from powdered sugar, a splash of milk (or lemon juice for tang), and a touch of vanilla extract makes for a delicious, slightly set finish that's perfect for a simpler look.
- Colored Sugar & Sprinkles Galore: For a super easy and instantly festive finish, simply press colored sugar, sanding sugar, or your favorite sprinkles onto the unbaked cookies before they go into the oven. The sugar adheres during baking, creating a sparkling, playful effect.
Serving Suggestions: More Than Just a Snack
These classic cut-out sugar cookies are certainly perfect on their own, especially when fresh from the oven, but their charm extends far beyond a simple snack. They make thoughtful homemade gifts, delightful party favors, or elegant additions to any dessert platter. Serve them alongside your morning coffee, afternoon tea, or with a cold glass of milk for the quintessential comfort experience. They are also a fantastic interactive activity for kids to decorate during holiday parties, playdates, or rainy afternoons, creating delicious memories together. There’s truly no wrong way to enjoy this delightful sugar cookie recipe.
Nutrition Information
Here's a breakdown of the estimated nutrition information for one serving (one cookie) from this sugar cookie recipe. Please note that these are estimates and can vary based on specific ingredients, portion sizes, and any added decorations.
| Nutrient | Amount Per Serving |
|---|---|
| Calories | 160 kcal |
| Carbohydrate Content | 22g |
| Cholesterol Content | 35mg |
| Fat Content | 8g |
| Fiber Content | 0.5g |
| Protein Content | 2g |
| Saturated Fat Content | 5g |
| Serving Size | 1 cookie |
| Sodium Content | 80mg |
| Sugar Content | 12g |
| Trans Fat Content | 0g |
| Unsaturated Fat Content | 3g |
Conclusion
There's something truly magical and deeply satisfying about a homemade sugar cookie recipe. It’s more than just a combination of butter, sugar, and flour; it’s a blank canvas for creativity, a cherished vessel for family traditions, and an undeniable source of pure, unadulterated joy. Whether you’re baking them for a bustling holiday party, a quiet afternoon treat, or simply because you adore the comforting aroma of fresh cookies filling your home, this classic cut-out sugar cookie recipe is absolutely sure to become a beloved and frequently requested favorite in your kitchen. So grab your apron, gather your quality ingredients, and get ready to bake some unforgettable magic. Happy baking, and may your cookies always bring a smile!
FAQs
What makes a sugar cookie soft versus crispy?
The key to a soft sugar cookie is often in the baking time and ingredient ratios. Our sugar cookie recipe uses a balanced approach with softened butter and baking powder, and instructs you not to overbake, ensuring a tender, chewy result rather than a hard, crispy one.
Can I make this sugar cookie dough ahead of time?
Absolutely! This sugar cookie recipe is perfect for make-ahead prep. You can refrigerate the dough, tightly wrapped, for up to 2 days, or even freeze it for up to 3 months. Just be sure to let it thaw in the fridge before rolling.
What's the best way to decorate sugar cookies?
For decorating, royal icing offers a smooth, hard finish that's great for intricate designs, while buttercream provides a softer, creamier texture. Our sugar cookie recipe is sturdy enough for either! You can also use simple glazes or just sprinkles.
Why did my sugar cookies spread too much?
Cookie spread can be caused by several factors, including butter that's too soft or melted, insufficient chilling time for the dough, or too little flour. Ensuring your butter is only softened, not melted, and thoroughly chilling the dough as specified in this sugar cookie recipe, will help them hold their shape.
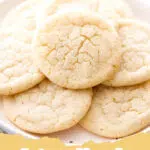
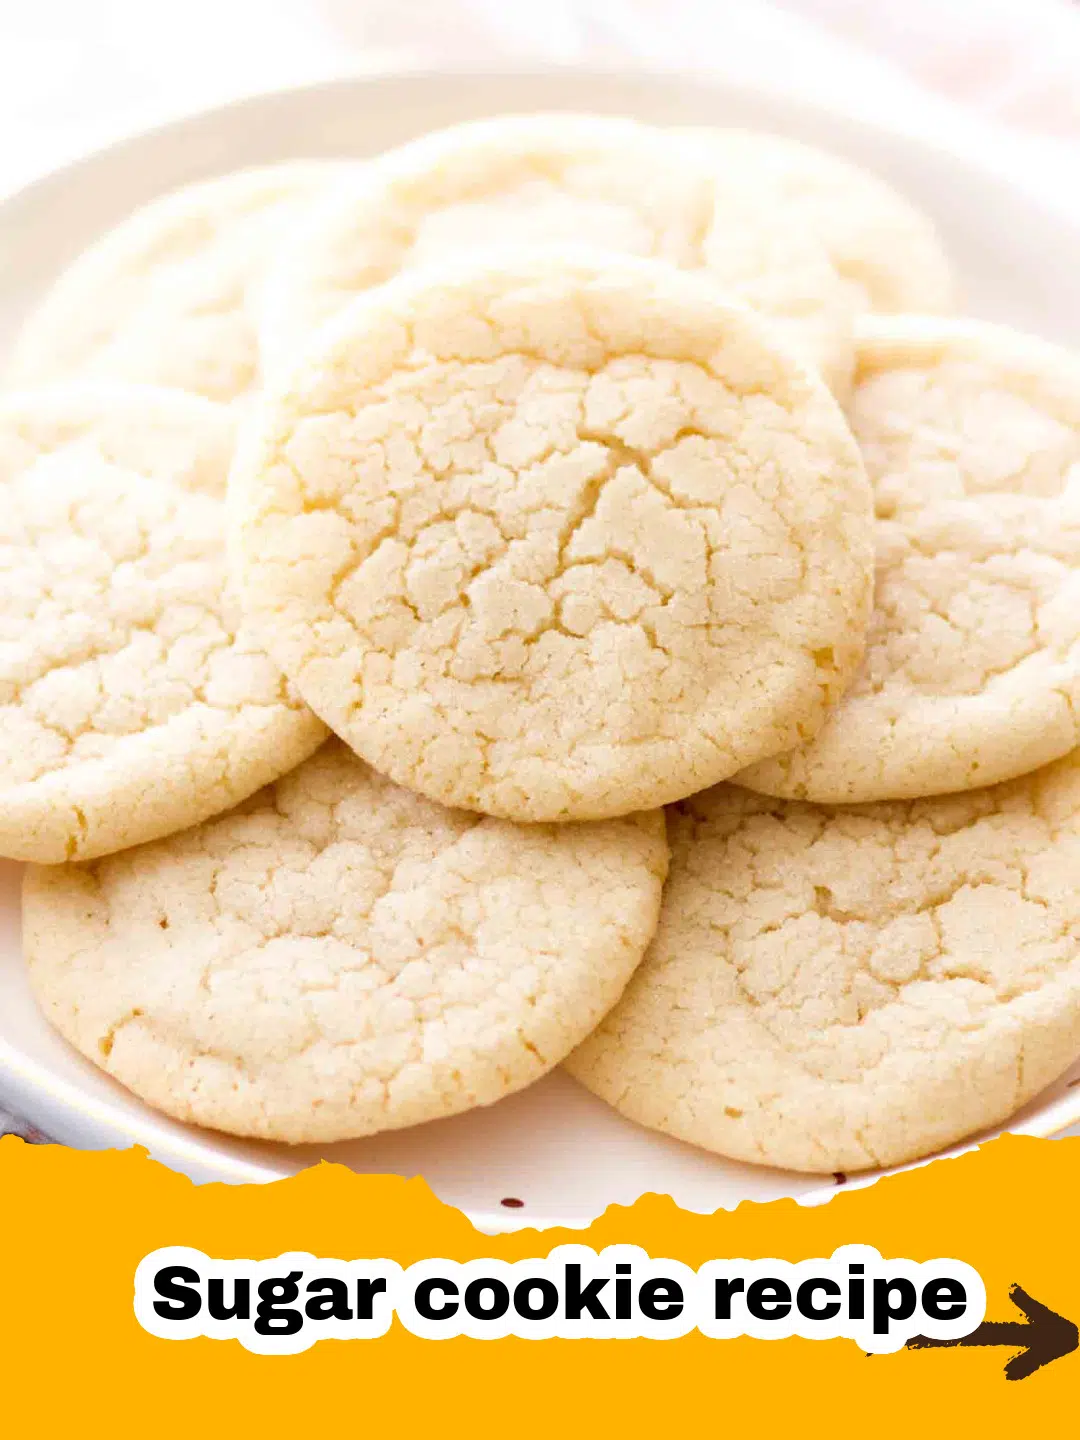
Classic Cut-Out Sugar Cookies
- Total Time: 2 hours (including chilling)
- Yield: 3-4 dozen cookies (depending on cutter size) 1x
Description
These classic cut-out sugar cookies are perfectly soft, slightly chewy, and hold their shape beautifully for decorating. Ideal for holidays, parties, or just a sweet treat.
Ingredients
1 cup (2 sticks) unsalted butter, softened
1 1/2 cups granulated sugar
2 large eggs
1 teaspoon vanilla extract (or almond extract for a different flavor)
1 teaspoon baking powder
1/2 teaspoon salt
3 cups all-purpose flour, plus more for dusting
Optional: Royal icing or buttercream for decorating, sprinkles
Instructions
Step 1: In a large bowl, cream together the softened butter and granulated sugar until light and fluffy. This can take 2-3 minutes with an electric mixer.
Step 2: Beat in the eggs one at a time, mixing well after each addition. Stir in the vanilla extract.
Step 3: In a separate medium bowl, whisk together the flour, baking powder, and salt. Gradually add the dry ingredients to the wet ingredients, mixing on low speed until just combined. Be careful not to overmix.
Step 4: Divide the dough into two equal portions, flatten each into a disc, wrap tightly in plastic wrap, and refrigerate for at least 1 hour, or up to 2 days. Chilling is crucial for easy rolling and preventing spread.
Step 5: Preheat your oven to 375°F (190°C). Line baking sheets with parchment paper or silicone mats. On a lightly floured surface, roll out one disc of chilled dough to about 1/4 inch thickness. Use your favorite cookie cutters to cut out shapes.
Step 6: Carefully transfer the cut-out cookies to the prepared baking sheets, spacing them about 1 inch apart. Reroll any scraps until all dough is used.
Step 7: Bake for 8-10 minutes, or until the edges are lightly golden. The centers should still look slightly soft. Baking time will vary based on cookie thickness and size.
Step 8: Let the cookies cool on the baking sheets for 5 minutes before transferring them to a wire rack to cool completely.
Step 9: Once completely cool, decorate as desired with royal icing, buttercream, or sprinkles. Store in an airtight container.
Notes
For best results, ensure your butter is truly softened (but not melted). Overmixing the dough can lead to tough cookies, so mix until just combined. Chilling the dough is critical for preventing spread and ensuring your cookies hold their shape.
- Prep Time: 30 minutes
- Cook Time: 8-10 minutes
- Category: Dessert
- Cuisine: American
Nutrition
- Serving Size: 1 cookie
- Calories: 160 kcal
- Sugar: 12g
- Sodium: 80mg
- Fat: 8g
- Saturated Fat: 5g
- Unsaturated Fat: 3g
- Trans Fat: 0g
- Carbohydrates: 22g
- Fiber: 0.5g
- Protein: 2g
- Cholesterol: 35mg
Leave a Reply