My earliest memories of winter are inextricably linked to the warmth of a mug clasped in my small hands, filled with a velvety, chocolatey concoction. There's something truly magical about hot cocoa, isn't there? It’s more than just a drink; it's a hug from the inside out, a companion for snowy evenings, and a tradition passed down through generations. For years, I relied on store-bought packets, a quick fix that often left me wanting more—more depth, more richness, more soul. That changed a few years ago when I stumbled upon the idea of creating my own diy hot cocoa mix recipes. The first time I tried it, using good quality cocoa and just the right touch of sweetness, it was an epiphany. The flavor was incomparable, the texture unbelievably smooth, and the satisfaction of knowing exactly what went into my mug was immense. Suddenly, those cozy winter nights felt even cozier, and my impromptu gatherings became even more special. This isn't just about saving a few bucks (though it certainly does that!); it’s about crafting an experience, a personalized touch that transforms a simple drink into a cherished ritual. Making your own diy hot cocoa mix recipes is surprisingly simple, deeply rewarding, and opens up a world of flavor possibilities you simply won't find in a pre-packaged box. Get ready to elevate your winter sips!
Why This Recipe is a Must-Try
Ditching the store-bought packets for your own diy hot cocoa mix recipes offers a myriad of benefits. Here’s why this homemade blend will quickly become a staple in your pantry:
- Unparalleled Customization: Say goodbye to one-size-fits-all flavor profiles! When you make your own hot cocoa mix, you're in complete control. Adjust the sweetness, add your favorite spices, or incorporate different types of chocolate to create a mix that perfectly suits your palate. This flexibility is what makes homemade hot chocolate truly special.
- Superior Ingredients, Better Taste: Commercial mixes often contain artificial flavors, excessive sugars, and fillers. With diy hot cocoa mix recipes, you choose high-quality cocoa powder, real sugar, and pure ingredients, resulting in a significantly richer, more authentic, and more delicious hot cocoa experience.
- Budget-Friendly: While a good initial investment in quality ingredients might seem like more, in the long run, making your own mix is far more economical than continually buying individual packets. Plus, you can make a large batch once and enjoy it for weeks or months.
- The Perfect Gift: A beautifully packaged jar of homemade hot cocoa mix makes a thoughtful and personal gift for holidays, birthdays, or just because. It shows care and creativity, and who doesn't love the gift of a warm, comforting drink?
Key Ingredient Notes for Perfect DIY Hot Cocoa Mix Recipes
The magic of your diy hot cocoa mix recipes largely depends on the quality and type of ingredients you choose. Here are a few essential components and what to look for:
Cocoa Powder: The Soul of Your Mix
This is where your hot cocoa gets its primary flavor. You have a couple of choices, each offering a slightly different profile:
- Natural Cocoa Powder: This is unsweetened and has a strong, slightly acidic chocolate flavor. It reacts with baking soda in recipes (not relevant here, but good to know for baking!).
- Dutch-Processed Cocoa Powder: This cocoa has been treated with an alkali to neutralize its acidity. It’s darker in color, milder in flavor, and creates a smoother, less bitter chocolate taste. For most diy hot cocoa mix recipes, especially those aiming for a rich, deep chocolate experience, Dutch-processed cocoa is often preferred for its smoother flavor. I highly recommend using a good quality Dutch-processed cocoa for this recipe for the ultimate velvety texture and depth of flavor.
Powdered Sugar (Confectioners' Sugar): For Smooth Sweetness
While granulated sugar works, powdered sugar is the secret to a perfectly smooth hot cocoa mix. Its fine texture ensures that it dissolves seamlessly into hot milk, preventing any grainy residue at the bottom of your mug. It also helps to prevent clumping in the dry mix itself, making your diy hot cocoa mix recipes easier to store and use.
Powdered Milk: The Creaminess Factor
Adding powdered milk (or dried milk powder) is crucial for achieving that delightful creaminess in your hot cocoa when you're simply adding hot water or less milk than you might otherwise. It mimics the richness of full-fat milk and helps to create a more substantial and satisfying drink. Look for full-fat powdered milk for the richest results, though non-fat will also work. This ingredient truly elevates simple diy hot cocoa mix recipes into a luxurious treat.
A Pinch of Salt: The Flavor Enhancer
Don't skip the tiny pinch of salt! Just like in baking, a small amount of salt can dramatically enhance the chocolate flavor, making it taste deeper and more complex. It balances the sweetness and brings out the best in your cocoa powder.
Step-by-Step Guide with Pro Tips for DIY Hot Cocoa Mix Recipes
Creating your own diy hot cocoa mix recipes is incredibly simple, making it a perfect project for a cozy afternoon. Follow these steps to craft your perfect blend:
- Step 1: Gather all your ingredients. Ensure your cocoa powder, powdered sugar, and powdered milk are fresh and of good quality. This is the foundation of delicious diy hot cocoa mix recipes.
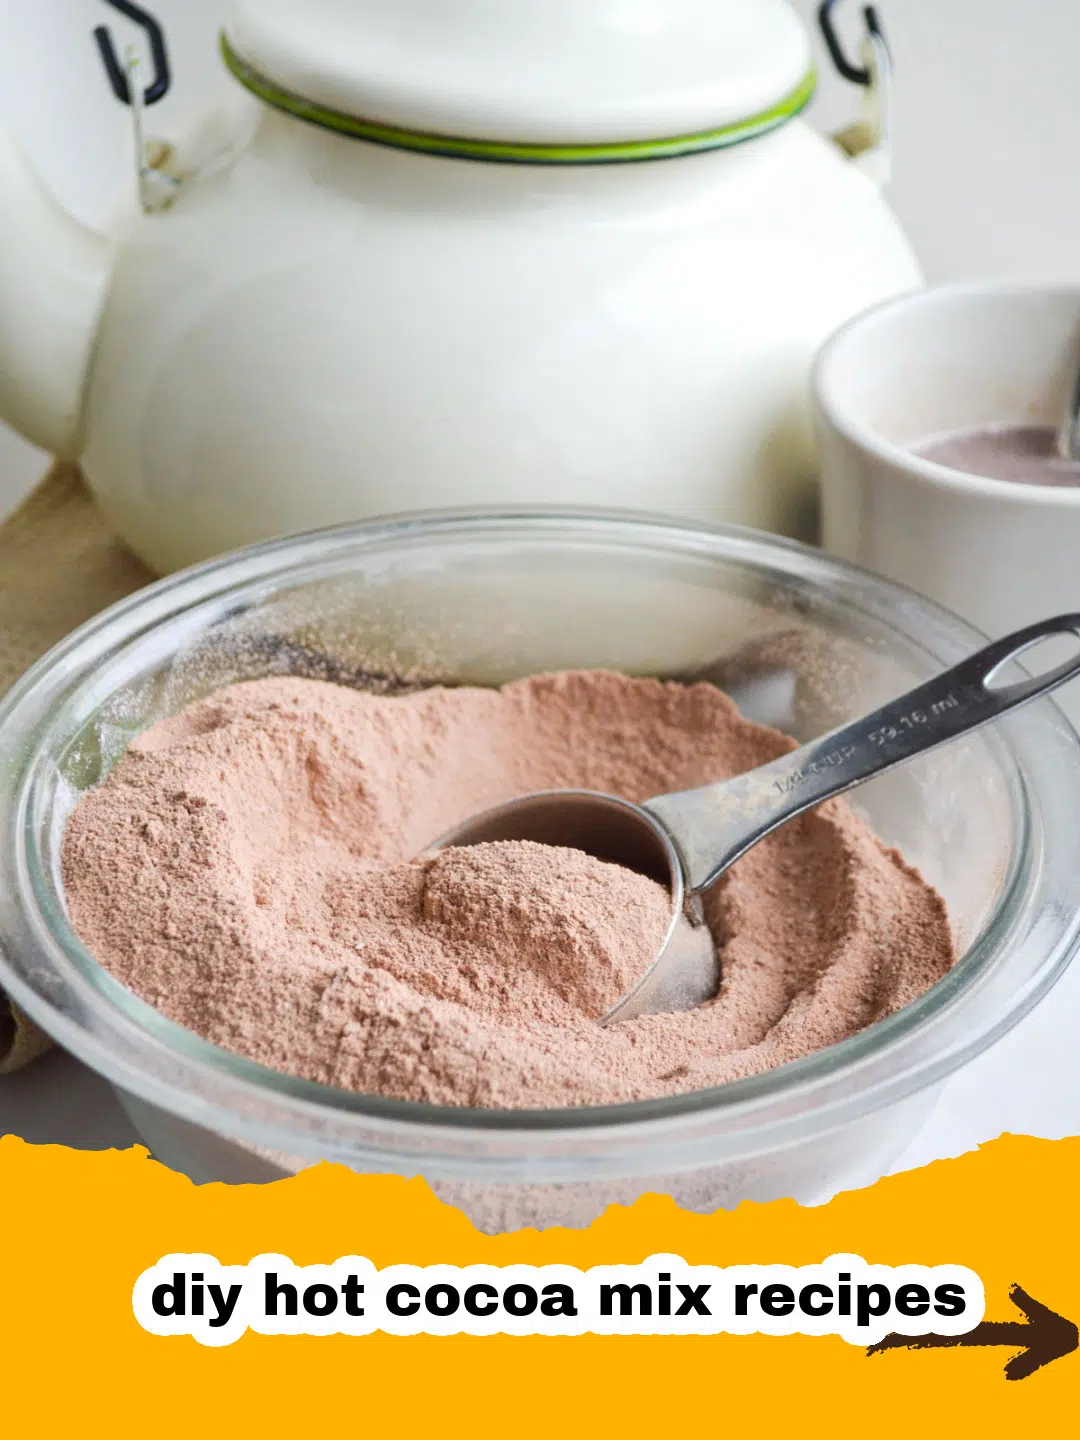
- Step 2: In a large mixing bowl, combine the Dutch-processed cocoa powder, powdered sugar, powdered milk, and a tiny pinch of salt. It's important to use a bowl large enough to prevent spills when mixing.
- Step 3: Sift all the dry ingredients together through a fine-mesh sieve. This crucial step breaks up any clumps in the cocoa powder or powdered sugar, ensuring a smooth, uniform mix. It also helps to aerate the ingredients, making for a lighter final product. If you don't have a sieve, whisk thoroughly for several minutes until fully combined and lump-free.
- Step 4: Once sifted and thoroughly combined, your homemade hot cocoa mix is ready! Transfer it to an airtight container. Glass jars with tight-fitting lids are ideal for storage, keeping your mix fresh for months. For excellent storage options, consider these Basics Glass Food Storage containers.
- Step 5: To prepare a single serving, add 2-3 tablespoons of your diy hot cocoa mix recipes into your favorite mug.
- Step 6: Heat 8 ounces of milk (dairy or non-dairy) or water until hot, but not boiling. For the creamiest results, I highly recommend using milk. If you're using a milk frother, now's the time to get it ready!
- Step 7: Pour the hot liquid over the mix in your mug, stirring continuously until the mix is completely dissolved and no lumps remain. Continue stirring for about 30 seconds to ensure everything is perfectly incorporated.
- Step 8: Top with your favorite garnishes and enjoy!
Variations & Serving Suggestions for Your DIY Hot Cocoa Mix Recipes
The beauty of making your own diy hot cocoa mix recipes lies in the endless possibilities for customization. Here are some ideas to inspire you:
Flavor Variations to Try:
- Spicy Mexican Hot Cocoa: Add 1 teaspoon of ground cinnamon and a ¼ teaspoon of cayenne pepper (or to taste) to the dry mix for a delightful kick. This blend of diy hot cocoa mix recipes is perfect for those who love a little heat.
- Peppermint Hot Cocoa: Mix in ¼ cup of finely crushed peppermint candies or candy canes to your dry mix. This is especially wonderful during the holiday season.
- Mocha Mix: For the coffee lovers, add 2-3 tablespoons of instant espresso powder or finely ground instant coffee to your dry mix. This creates a sophisticated coffee-chocolate fusion.
- Orange Infused Hot Cocoa: Grate the zest of one orange and let it dry completely (or very finely chop dried orange peel) before adding it to your mix for a bright, citrusy note.
- White Chocolate Swirl: For an extra decadent touch, melt a small amount of white chocolate and swirl it into your prepared hot cocoa.
Serving Suggestions:
- Classic Toppings: A dollop of homemade whipped cream, fluffy marshmallows (mini or jumbo!), or a sprinkle of extra cocoa powder are always winners.
- Chocolate Shavings: Use a vegetable peeler to create delicate chocolate curls from a bar of your favorite chocolate.
- Caramel Drizzle: A swirl of caramel sauce adds a buttery, sweet dimension.
- Cinnamon Stick Stirrer: Not only does it look festive, but it also imparts a subtle cinnamon flavor as you stir.
- Boozy Bliss: For an adult treat, add a shot of peppermint schnapps, Kahlua, or rum to your prepared hot cocoa. This takes your diy hot cocoa mix recipes to another level.
Nutrition Information
Here's an estimated nutritional breakdown for one serving (2 tablespoons of dry mix prepared with 8 oz 2% milk) of our Classic Homemade Hot Cocoa Mix. Please note these are estimates and can vary based on specific ingredients used.
| Nutrient | Amount Per Serving |
|---|---|
| Calories | 180 kcal |
| Carbohydrate Content | 28g |
| Cholesterol Content | 15mg |
| Fat Content | 5g |
| Fiber Content | 2g |
| Protein Content | 8g |
| Saturated Fat Content | 3g |
| Serving Size | 2 tablespoons mix + 8oz milk |
| Sodium Content | 100mg |
| Sugar Content | 24g |
| Trans Fat Content | 0g |
| Unsaturated Fat Content | 2g |
Conclusion
There you have it – the ultimate guide to creating your very own diy hot cocoa mix recipes that will transform your winter beverage game. This simple act of making something from scratch brings so much joy, not just in the delicious taste, but in the process itself. From customizing flavors to crafting thoughtful gifts, homemade hot cocoa mix is a testament to the fact that the best things often come from our own kitchens. So, go ahead, whip up a batch, snuggle up with a warm mug, and savor the pure, unadulterated comfort. Your taste buds (and your loved ones) will thank you!
FAQs
How long does homemade hot cocoa mix last?
When stored in an airtight container in a cool, dry place, homemade hot cocoa mix can last for up to 6 months. Make sure to use fresh, high-quality ingredients for the longest shelf life.
What is the best type of cocoa powder for these diy hot cocoa mix recipes?
For a rich, smooth, and less bitter chocolate flavor, Dutch-processed cocoa powder is generally recommended for diy hot cocoa mix recipes. Natural cocoa powder can also be used, but it has a slightly more acidic and intense flavor profile.
Can I make this hot cocoa mix vegan?
Absolutely! To make a vegan hot cocoa mix, simply omit the powdered milk or replace it with a plant-based powdered milk alternative (like powdered oat milk or coconut milk powder) if desired for creaminess. Then, prepare your hot cocoa with your favorite non-dairy milk (almond, soy, oat, or coconut milk).
How do I make a single serving of hot cocoa from the mix?
To make a single serving, add 2-3 tablespoons of the dry hot cocoa mix to a mug. Heat 8 ounces of your preferred milk (dairy or non-dairy) or water until hot, but not boiling. Pour the hot liquid over the mix and stir continuously until it is completely dissolved and smooth. Top with your favorite garnishes and enjoy!
Homemade Classic Hot Cocoa Mix
- Total Time: 10 minutes
- Yield: Approximately 4 cups of mix (makes 16-20 servings) 1x
Description
A versatile and easy-to-make homemade hot cocoa mix that creates a rich, creamy, and comforting drink perfect for cold days or thoughtful gifts.
Ingredients
2 cups Dutch-processed cocoa powder, unsweetened
2 cups powdered sugar (confectioners' sugar)
2 cups powdered milk (full-fat for richer taste, or non-fat)
1/2 teaspoon fine sea salt
Optional: 1/2 cup mini chocolate chips or finely shaved chocolate for extra richness
Instructions
Step 1: Gather all your ingredients. Ensure your cocoa powder, powdered sugar, and powdered milk are fresh and of good quality. This is the foundation of delicious homemade hot cocoa.
Step 2: In a large mixing bowl, combine the Dutch-processed cocoa powder, powdered sugar, powdered milk, and fine sea salt. If adding, incorporate the optional mini chocolate chips or shaved chocolate here.
Step 3: Sift all the dry ingredients together through a fine-mesh sieve into a clean bowl. This crucial step breaks up any clumps in the cocoa powder or powdered sugar, ensuring a smooth, uniform mix. Whisk thoroughly for several minutes until fully combined and lump-free if you don't have a sieve.
Step 4: Once sifted and thoroughly combined, your homemade hot cocoa mix is ready! Transfer it to an airtight container. Glass jars with tight-fitting lids are ideal for storage, keeping your mix fresh for up to 6 months.
Step 5: To prepare a single serving, add 2-3 tablespoons of your homemade hot cocoa mix into your favorite mug. Adjust the amount to your preferred sweetness and chocolate intensity.
Step 6: Heat 8 ounces of milk (dairy or non-dairy) or water until hot, but not boiling. For the creamiest and richest results, using milk is highly recommended.
Step 7: Pour the hot liquid over the mix in your mug, stirring continuously with a spoon or whisk until the mix is completely dissolved and no lumps remain. Continue stirring for about 30 seconds to ensure everything is perfectly incorporated.
Step 8: Top with your favorite garnishes such as marshmallows, whipped cream, or a sprinkle of cinnamon, and enjoy your cozy, comforting homemade hot cocoa!
Notes
For the best flavor and shelf life, store your homemade hot cocoa mix in an airtight container in a cool, dry pantry for up to 6 months. For an even richer, more decadent hot cocoa, use full-fat powdered milk and prepare with whole milk or half-and-half.
- Prep Time: 10 minutes
- Cook Time: 0 minutes
- Category: Drink
- Cuisine: American
Nutrition
- Serving Size: 2 tablespoons mix + 8oz milk
- Calories: 180 kcal
- Sugar: 24g
- Sodium: 100mg
- Fat: 5g
- Saturated Fat: 3g
- Unsaturated Fat: 2g
- Trans Fat: 0g
- Carbohydrates: 28g
- Fiber: 2g
- Protein: 8g
- Cholesterol: 15mg
Leave a Reply